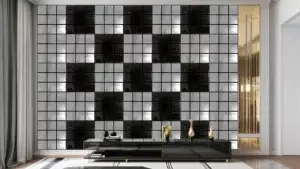
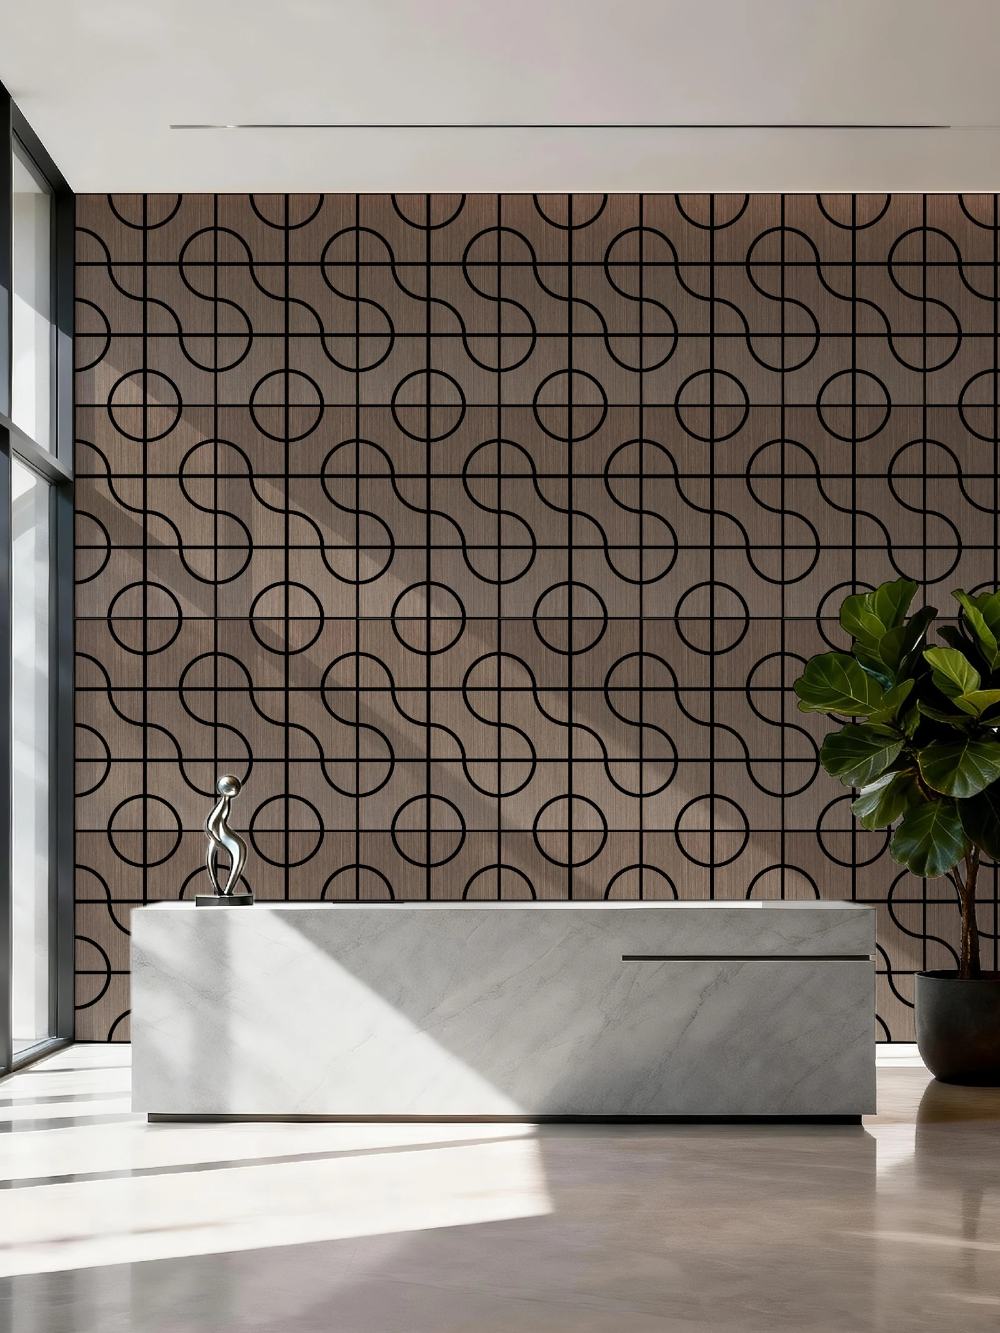
A geometric feature wall can fail even when every single panel feels secure. The pattern may drift, the first row may sit slightly off line, or the edge panels may look like an afterthought once the wall is finished. That is why acoustic panel installation for a decorative MDF panel wall has to start with the wall layout, not with adhesive on the first board.
Geometric MDF acoustic panels combine visible decorative lines with an acoustic backing, so the main challenge is simple to describe but easy to miss: each panel has a direction, and that direction changes the full-wall pattern. HUAHONG DECOR’s acoustic range pairs MDF slats with polyester acoustic backing and decorative surface options, so the installation is not merely about panel placement. It protects the intended face pattern, finish direction, and fixing method in the same workflow. For installers, designers, and project teams comparing mdf acoustic wall panels, people searching for how to install acoustic panels usually need more than a tool list; they need a sequence that keeps the reference line, panel orientation, product structure, and final review connected.
Map the Pattern Before the First Panel Goes Up
Before any panel is fixed, draw the wall as a layout area. Measure the full width and height, mark the starting reference line, and decide where full panels, cut panels, corners, and openings will sit. On a decorative acoustic feature wall, the pattern repeats across the surface, so the first panel controls every panel beside it.
The selected HUAHONG DECOR product family is useful for this kind of planning because decorative faces need a clear direction and repeatable layout. The company works with a broad design library that includes wood, stone, relief, and geometric surface options, so layout planning is part of how the finished wall carries the intended design. The visible pattern can then be checked as a whole-wall composition instead of being judged one piece at a time.
This is also where the MDF acoustic panel category helps the project team keep the product family clear. The article is not about long linear slat panels, SPC floors, or WPC wall cladding. It is about mdf acoustic wall panels that form a modular feature wall, where pattern balance, acoustic backing, finish choice, and fixing quality must be planned together.
Prepare the Wall, Tools, and Fixing Method
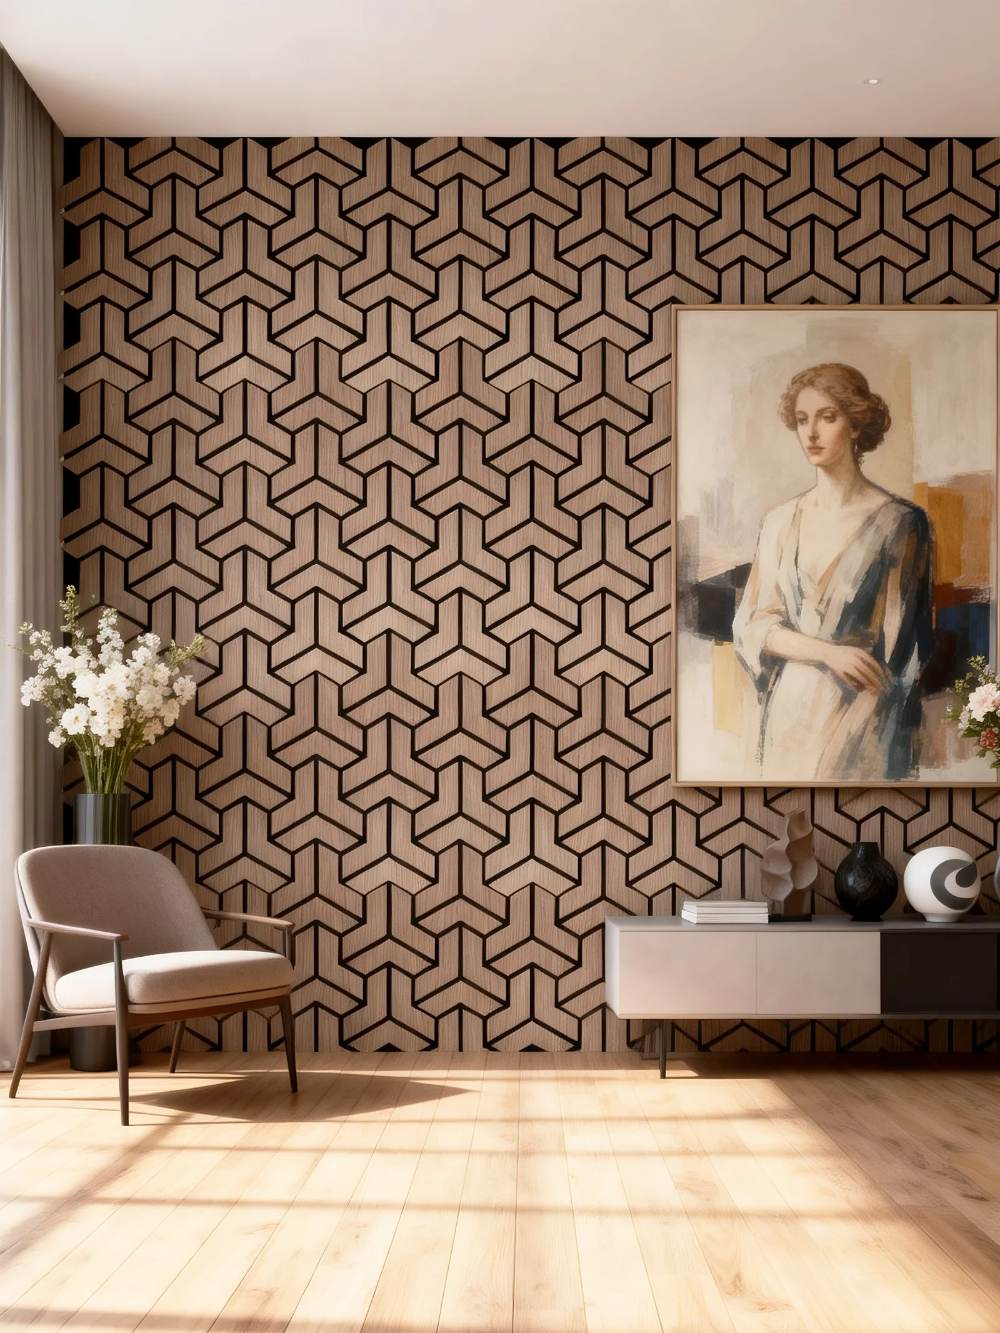
A good layout still needs a suitable wall. The surface should be clean, flat, and stable enough for the chosen fixing method. The installation materials identify measuring tools, a pencil, cutting equipment, construction adhesive, and mechanical fixing tools as the practical preparation set. HUAHONG DECOR’s product advantage appears here in a practical way: the decorative face, acoustic backing, and finish option can be confirmed before the wall is cut or fixed, rather than being treated as a separate design decision after installation starts. The tool list stays deliberately narrow because unsupported screw counts, glue quantities, and curing times would turn the guide into guesswork.
For acoustic wall panel installation, the preparation step should also separate panel size from site size. Wall corners, base lines, sockets, frames, and partial end panels are site-specific. Measure the wall, then check the next panel before it is cut or fixed. This prevents conflating the product’s specifications with the room’s actual conditions.
Fixing can use adhesive or mechanical fastening depending on the wall and project requirement, but the recommended method uses construction adhesive on the back of the panel and screw fixing after placement. That combination gives the article a clear evidence-backed method without making a universal claim for every wall surface. For HUAHONG DECOR projects, the same conversation can also cover selected pattern, surface condition, quantity, and packaging needs before ordering, which helps the installation plan stay connected to the actual product package.
Install Each Module in a Controlled Sequence
The safest way to explain how to install acoustic panels is to treat each module as part of the full pattern. Do not install several panels first and check alignment later. A better sequence is measure, confirm direction, cut if needed, apply adhesive, place the panel on the reference line, press it flat, secure it, and check the pattern before moving to the next module.
This order also keeps acoustic panel installation from becoming a generic wall-panel instruction. A decorative acoustic panel has a visible geometric face, so the installer must protect both the fixing and the design rhythm. HUAHONG DECOR’s value is strongest when those two requirements are handled together: the panel is selected for its look and acoustic backing, then installed with the reference line, panel direction, and fixing method in the same workflow.
Measure the wall and the next panel
Start by measuring the wall dimensions and the position of the next module. Then measure the panel that will meet that space. This double check is important near edges, corners, and openings because a nominal module size does not replace site measurement. Mark the reference line lightly enough to guide placement without leaving unnecessary visible marks.
Cut only after the pattern direction is confirmed
Cutting should come after the module direction has been chosen. If the panel is rotated after cutting, the visible pattern may no longer match the planned position. Mark the intended orientation, confirm the site dimension, and then cut the panel to the appropriate size. The guide does not add outlet-cutting methods or blade specifications because those details are not confirmed by the supplied materials.
Apply adhesive and place the panel on the reference line
Apply construction adhesive to the back of the panel, then place the module on the prepared reference line. Press the face evenly so the panel sits flat against the wall. At this point, the installer should look at both the panel edge and the printed or raised geometry. A panel can be level but still look wrong if the pattern direction does not match the next module.
Secure the panel and recheck the pattern
After the panel is placed, complete the mechanical fixing shown in the documented process. Use the fixing point as part of the installation sequence, then press and review the panel again. The next panel should begin only after the current module has been checked from close range and from a short distance, because geometric errors often appear more clearly when the wall is viewed as a composition.
Review the Finished Pattern and Fixing
A finished wall should be reviewed by pattern continuity, module direction, edge fit, and completed fixing points. Do not judge the installation by broad promises about faster work or acoustic results. In acoustic wall panel installation, the visible question is whether the grid stays balanced. The practical question is whether the modules are fixed and seated consistently across the wall.
If the project team is still choosing between pattern options, the existing MDF acoustic design guide can help connect the finished look with the acoustic-panel product family. The HUAHONG DECOR advantages page also gives project teams a company-level route from design selection to production support. In the installation document itself, the focus stays on the wall grid, module placement, and fixing sequence.
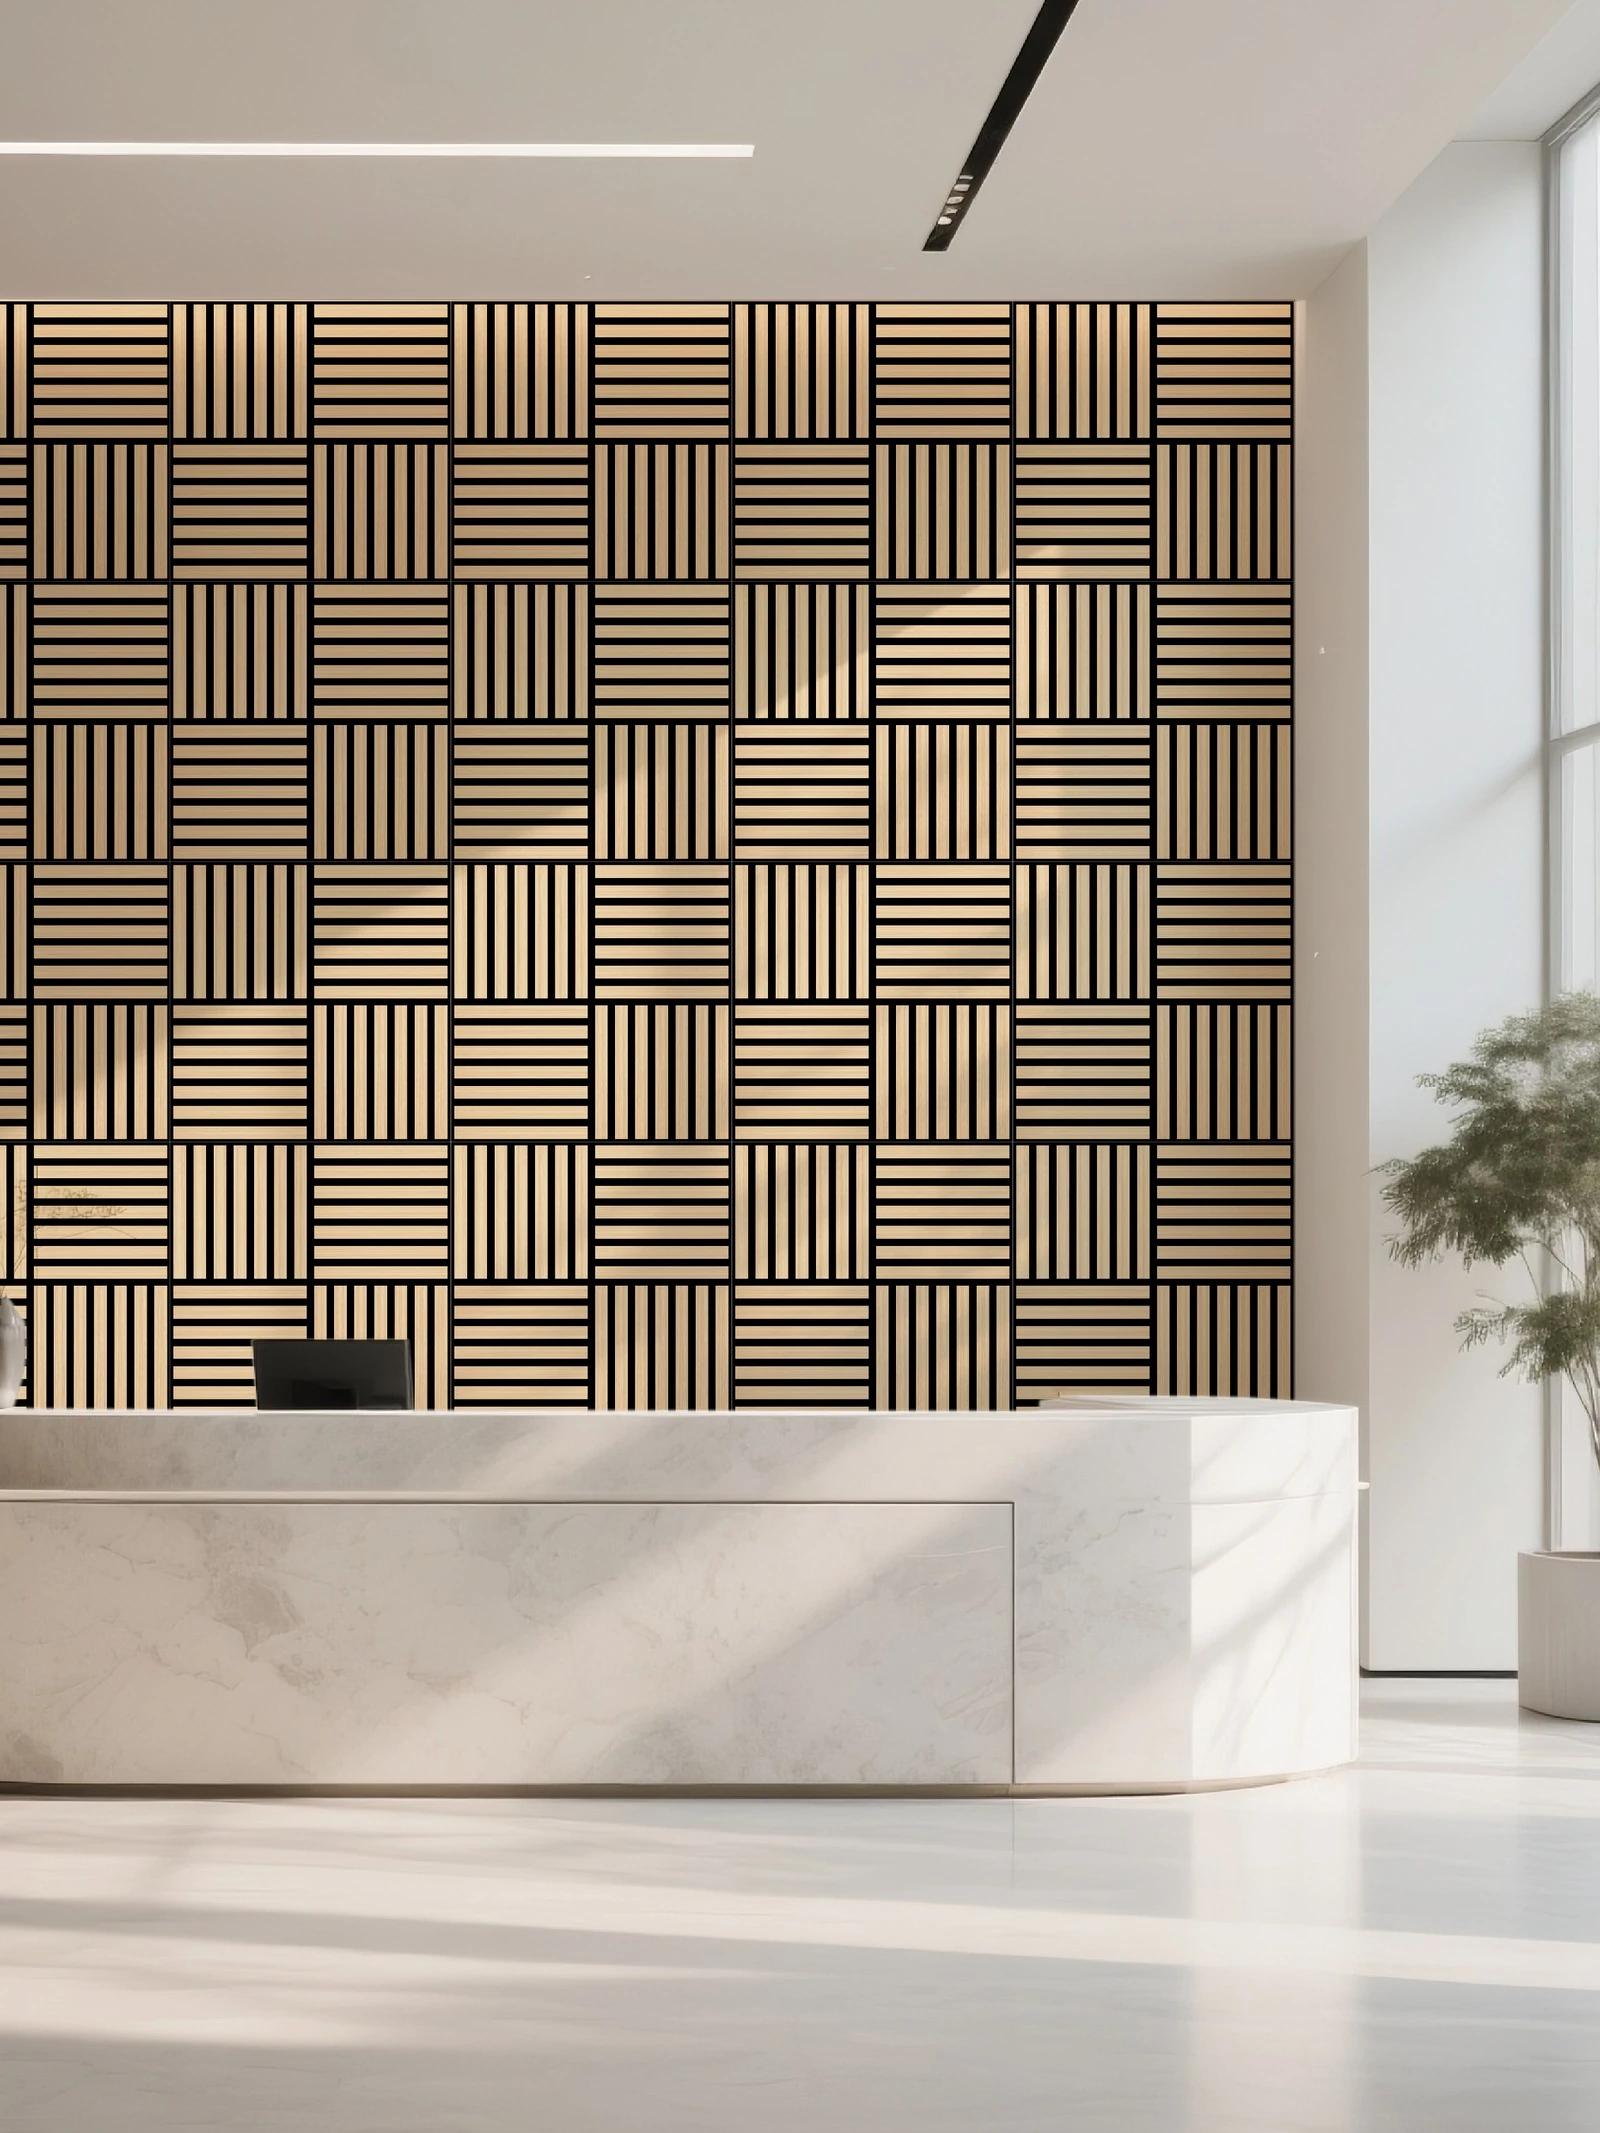
For a large feature wall, take a final view from the normal entrance or viewing distance. Check whether the alternating lines, circles, or strip directions form the intended rhythm. Then inspect the boundary panels, especially where cuts meet the side wall, base line, or ceiling line. Those areas usually reveal whether the layout was planned before the first module went up.
Conclusion
A balanced geometric feature wall is built through a continuous chain: measure the wall, plan the panel layout, confirm panel direction, cut only where needed, place each panel on a reference line, secure it, and review the full pattern before calling the work finished. The point is not to add more steps. It is to keep the visual pattern and the fixing method under control from the first panel to the last edge.
For projects using geometric MDF acoustic panels, customized service can support confirmation of pattern, quantity, surface condition, openings, and packaging needs before production or ordering. HUAHONG DECOR has operated in building materials since 1998, with a large Yiwu manufacturing base and products supplied to projects in more than 60 countries. In this guide, that company background matters because installation questions can be connected to product selection, finish matching, packing, and order communication before the wall work begins. When the wall dimensions and intended layout are ready, use Contact Us to share the project details with HUAHONG DECOR.
FAQs
Q1: Can MDF acoustic panels be installed with adhesive alone?
A1: The product information allows glue or nails, while the recommended method uses construction adhesive plus screw fixing. The final method should match the wall surface and project requirement instead of being assumed from one room condition.
Q2: How do you keep a geometric acoustic panel pattern aligned?
A2: Plan the wall grid, mark panel orientation, keep the first reference line stable, and check each module before the next one is fixed. This keeps the pattern from drifting across the wall.
Q3: What should a project team send HUAHONG DECOR before ordering geometric acoustic panels?
A3: Share wall dimensions, selected pattern, openings, surface condition, target quantity, and any packaging or delivery needs. HUAHONG DECOR can use those details to connect the panel design, finish direction, product quantity, and installation plan without turning the guide into a generic procurement checklist.