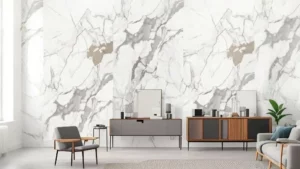
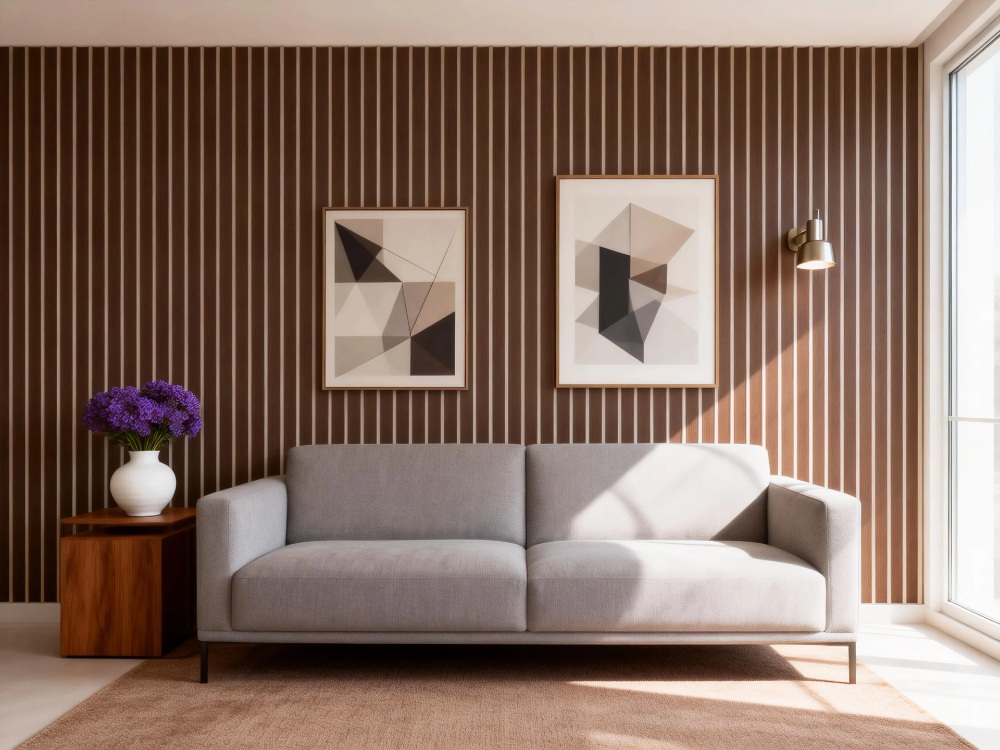
A marble wall can look good on a sample and still look wrong after installation. The usual problem is not the board itself. It is a vein that stops at the seam, a crooked first panel, or a small cut placed right beside the television.
HUAHONG DECOR’s UV board collection includes SPC UV BOARD HH24004. It has a PVC-and-calcium-powder base, a marble-patterned surface, and a home background-wall application. In other words, it is made to be seen. The installation needs to keep that marble pattern looking calm and connected.
Plan the Pattern Before You Cut
Do not start by cutting the first board to fit the nearest corner. First, place the boards on the floor or hold them against the wall in the order you plan to use them. Look at the main veins, pale areas, and darker areas. Decide which board should sit in the centre of the wall.
For a television wall, the centre is often behind or beside the television. For an entrance wall, it may be the first large area people see when they walk in. Keep the strongest part of the marble pattern in that main area. Put narrow pieces and small cuts at the side, where they are less noticeable.
HH24004 is a marble-patterned UV board for home background walls. That means the pattern is part of the product, not just decoration added at the end. Treat the board order as part of the design. A little planning before cutting can prevent a good-looking pattern from being broken by an awkward seam.
Make a simple wall drawing before you begin. Mark the television, sockets, doors, windows, and any fixed cabinets. Then mark the order of the boards. This gives the installer a clear guide and gives the buyer a chance to check the final look before the first cut is made.
Start With a Straight Line
The first board controls the rest of the wall. If it is slightly crooked, every board after it may follow the same mistake. Use a laser line or another reliable straight reference. Check the line against the ceiling, floor, door frame, and nearby joinery before fixing the first board.
Do not assume that a room corner is straight. Many corners are not. If you start from a corner without checking it, the final cut may end up in the most visible part of the wall. When possible, keep a full board in the main viewing area and move the narrowest board to a quieter side.
This is where HUAHONG DECOR can offer more than one surface finish. The company works with wall systems, grilles, skirting boards, and related architectural materials. A marble wall often meets a grille, trim, skirting, or painted wall. Plan those meeting points before the boards go up. It is much easier to adjust a drawing than to change a fixed panel.
HUAHONG DECOR also draws on Huahong Art Home’s 26 years in artistic home decoration, a design team of more than 100 professionals, and a library of over 10,000 design options. These facts are useful when the room needs more than one finish. Send the marble direction and the nearby materials together, so the whole wall can be checked as one design.
Make Cuts in Less Noticeable Areas
Every cut changes the pattern. A cut around a socket, window, or cabinet may be necessary, but it should not take away the strongest part of the marble look. Mark all openings on the wall drawing first. Then choose the board and the part of the pattern that can take the cut with the least visual impact.
Keep the clearest marble movement on the large, open part of the wall. Use quieter areas for narrow returns and small side pieces. Before you apply adhesive, dry-fit the board and step back. Look at the full wall, not only at the cut itself.
HH24004 uses a PVC-and-calcium-powder base and has a marble-patterned face. For the buyer, the important point is simple: confirm that HH24004 is the board selected for the background wall and confirm which way the marble pattern should run. Blade choice, adhesive, and trimming details depend on the job. Check those details with the product and adhesive suppliers before installation starts.
Protect the finished face while measuring and cutting. Once a board has been cut, check its direction again before lifting it to the wall. Turning a board by mistake can make the marble pattern look out of place even when the cut is accurate.
Check Each Seam Before You Press the Board Into Place
The seam is where a marble wall either looks smooth or looks like separate panels. Take a few seconds to check it before pressing the next board fully into place. Look at the top edge, the vertical line, and the way the marble pattern meets the board beside it.
Use Adhesive Carefully
Prepare the wall and board surfaces. Use an adhesive that its supplier confirms is suitable for the board and the wall. Follow the adhesive instructions. Avoid guessing at bead size, pattern, or open time based on generic examples.
For a large board, plan the lift before you start. Keep the face protected and keep the laser line easy to see. If two people are needed to handle the board safely, agree on who checks the top edge and who checks the seam. Do not rush the last few seconds before the board makes full contact with the wall.
Step Back and Look From the Room
After two boards meet, step back. Look from the doorway, from the sofa, or from the place where people will normally see the wall. Is the seam straight? Does the marble pattern stop in a natural place? Does light make one edge stand out too much?
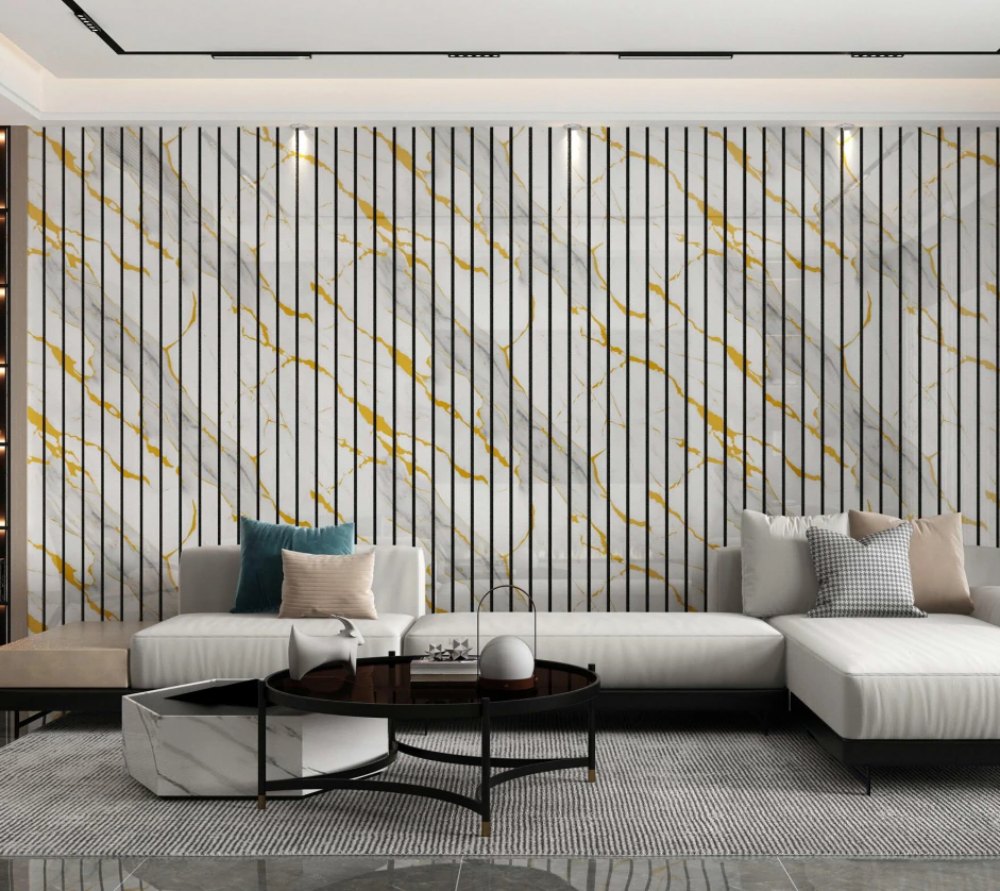
The practical rule is simple: ensure the board makes even contact, keep the visible face clean, and check the seam from normal viewing distance. Remove adhesive residue only with the cleanup method recommended by the adhesive supplier. A clean seam lets the marble pattern remain the main feature of the wall.
Plan the Whole Wall, Not Only the Marble Board
The last panel is not the last check. Look at the wall with the lights on. Check it from the entrance and from the main seating area. Look at every edge where the marble board meets another material.
HUAHONG DECOR’s wider range includes wall panels, grilles, skirting, and related finishes. This gives a project team a practical way to discuss the feature wall together with the materials around it. For example, a buyer can compare the HH24004 marble direction with a nearby grille, trim, or skirting before the order is final.
The company’s large design library also includes stone textures, wood grain, and other decorative directions. That does not mean every combination will work. It means the buyer has more options to compare before choosing the final wall scheme. Share the wall drawing, room photographs, panel direction, nearby finishes, and quantity estimate with HUAHONG DECOR’s wall-system team.
For a quotation, include the wall dimensions, openings, panel direction, required quantity, and delivery schedule in a project inquiry. Clear information helps the discussion start with the right board and the right wall layout.
Conclusion
HH24004 gives a home background wall a marble-patterned UV board with a PVC-and-calcium-powder base. HUAHONG DECOR adds a wider range of wall materials and design resources for the parts that meet that board.
Plan the pattern first. Set a straight line. Check each seam before the board is pressed into place. Those three steps do more for the finished wall than a last-minute repair ever can.
FAQs
Q1: Can SPC UV BOARD HH24004 be used for a bathroom feature wall?
A1: HH24004 is described as a PVC-and-calcium-powder UV marble board for home background walls. A bathroom needs extra checks for the wall condition, adhesive system, joints, ventilation, and local installation rules. Confirm those details with the product and adhesive suppliers before ordering.
Q2: Do all marble-patterned boards need a perfect vein match at every seam?
A2: No. Some boards have a natural place for the pattern to change. Others look better when the main vein continues across the centre of the wall. Plan the board order before cutting, then check the seam from normal viewing distance.
Q3: What should a buyer send before asking for a quotation?
A3: Send the wall drawing, dimensions, opening locations, panel direction, preferred marble pattern, nearby materials, quantity estimate, room photographs, and delivery schedule. The cases and guides page can help show the intended application, but the real room details should guide the final discussion.