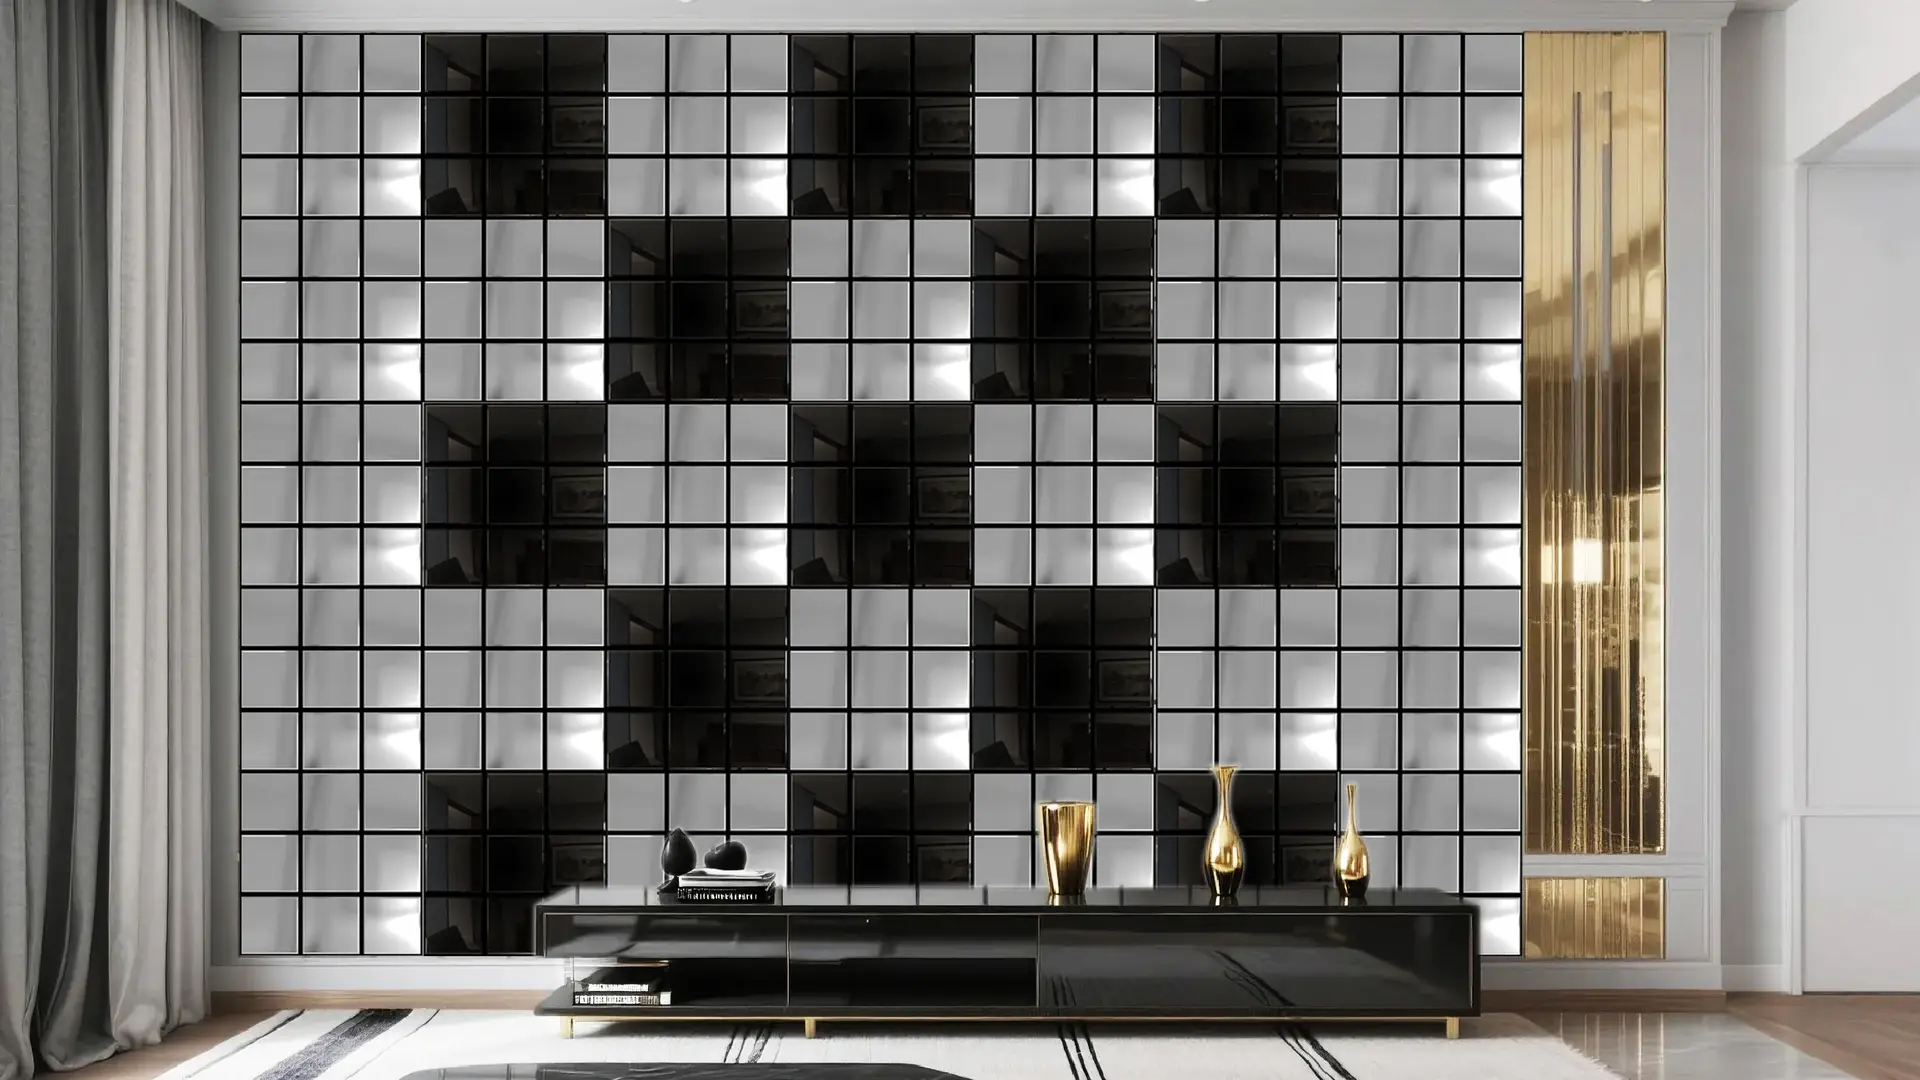
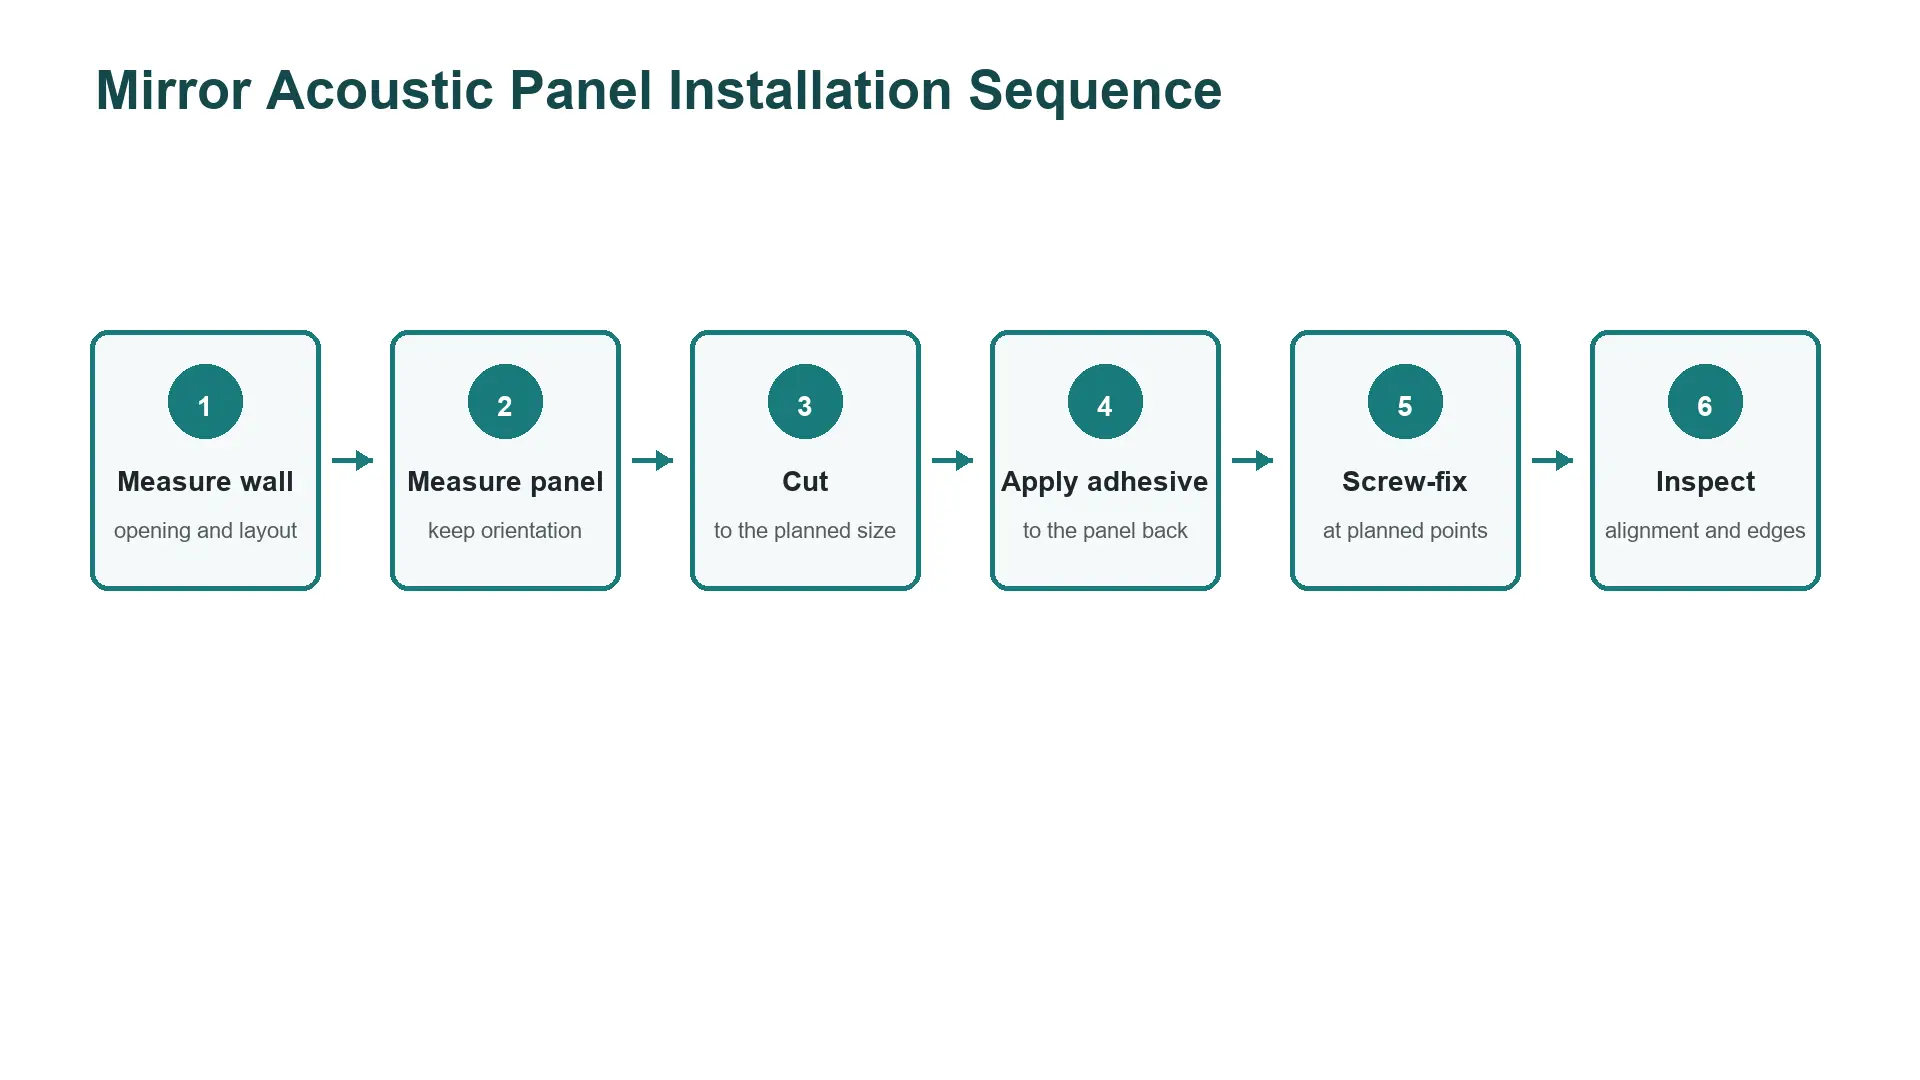
Una instalación exitosa de paneles acústicos para paredes comienza con un trazado preciso y el método de fijación correcto tanto para el panel como para la pared. Para los equipos que están aprendiendo a instalar paneles acústicos con superficie reflectante, esta instalación de paneles acústicos con espejo consta de seis pasos: medir la pared, medir la posición de cada panel, cortar el panel, aplicar adhesivo sin clavos en la parte posterior, fijarlo con un taladro eléctrico y tornillos, e inspeccionar la pared terminada.
El término «espejo» describe el elemento decorativo o acabado visible. No significa que todo el panel sea de vidrio. Antes de comenzar a instalarlo en una pared completa, confirme los requisitos de corte, perforación, adhesivo y acabado de bordes para el modelo exacto. Verifique también el material de la pared, las instrucciones de instalación vigentes, las normas de seguridad locales y la muestra aprobada.
Confirme el panel, la pared y las herramientas antes de la instalación.
Los paneles acústicos tipo espejo disponibles miden aproximadamente 60 x 60 cm, 56 x 60 cm, 52 x 60 cm, 26 x 30 cm y 30 x 30 cm. La altura indicada para estos diseños es de 1,2 cm. Estos son solo ejemplos. Mida e inspeccione el lote entregado antes de la instalación.
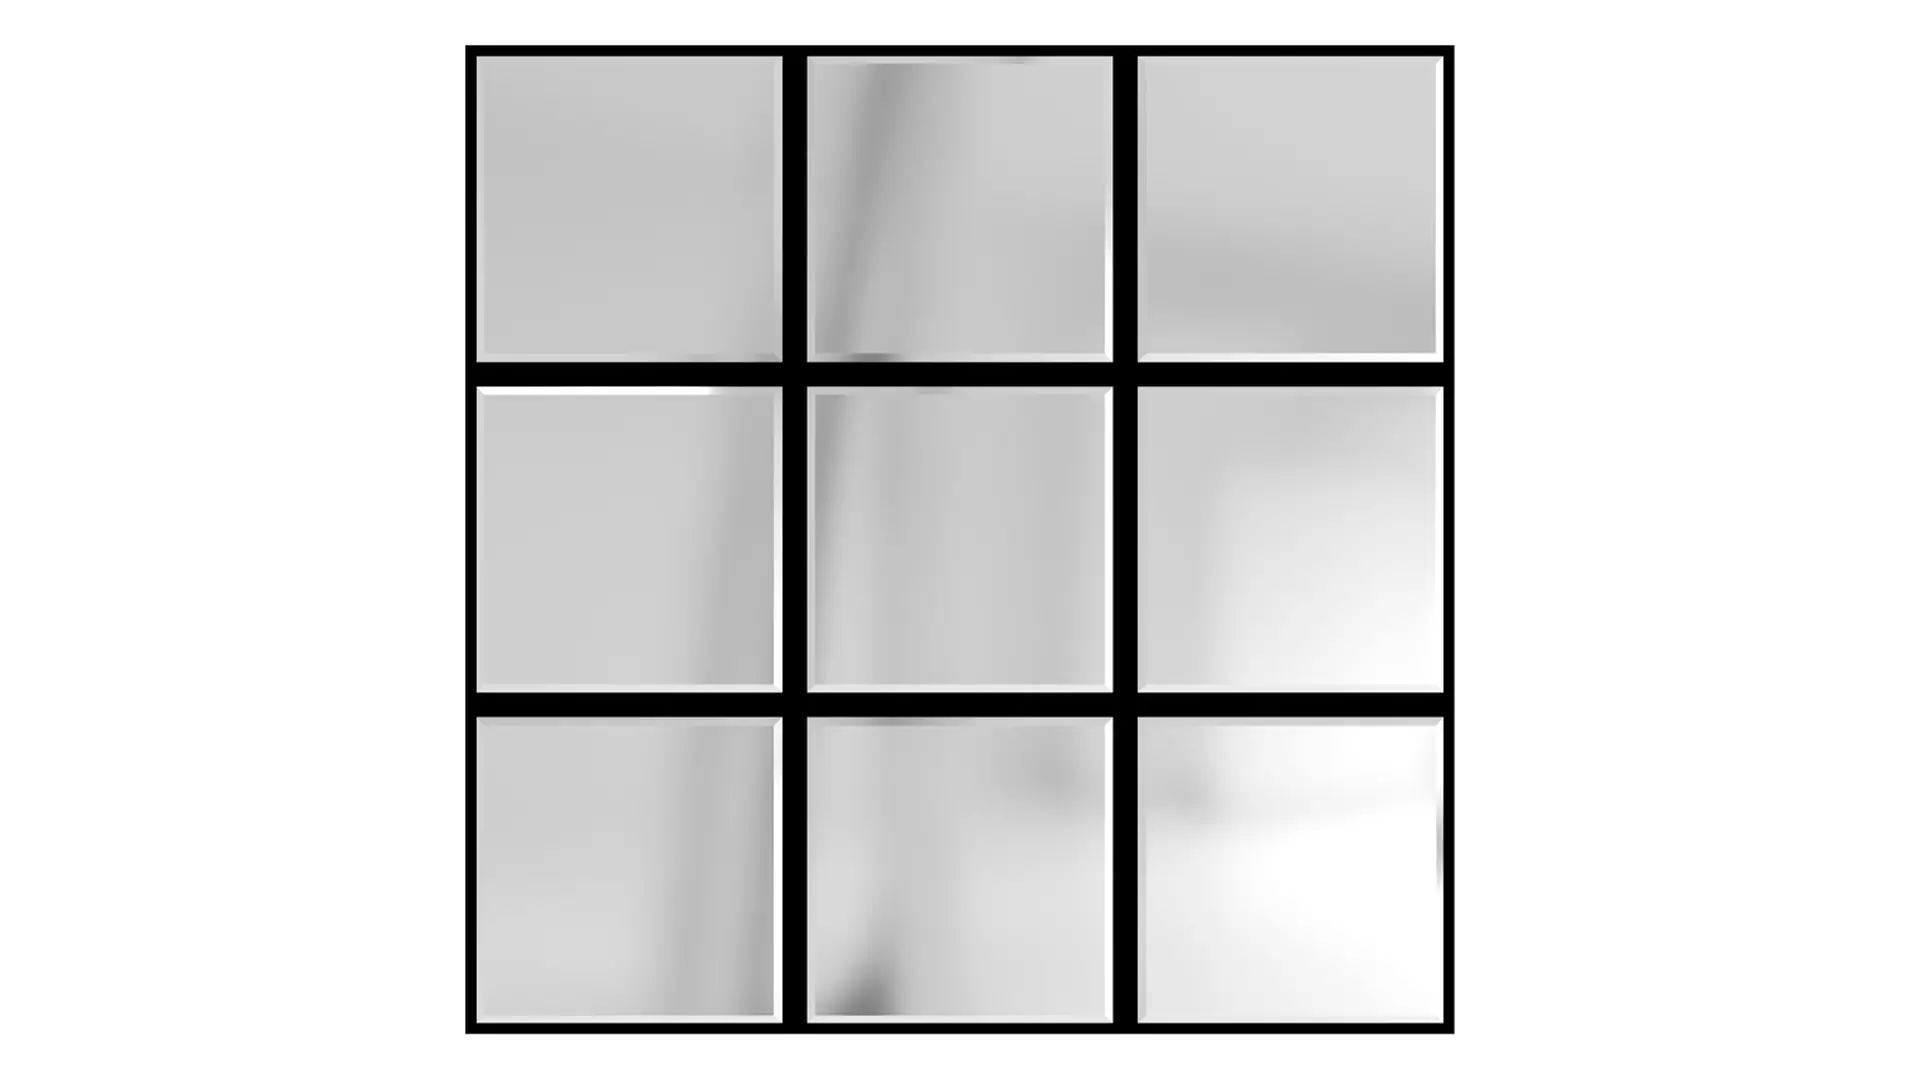
Inspeccione el conjunto del panel acústico del espejo.
Abra suficientes cajas para comprobar el modelo, las dimensiones, el color o el patrón reflectante, la orientación, los bordes, la uniformidad del lote y las marcas de instalación. Mantenga la protección frontal colocada cuando las instrucciones lo permitan. No apile paneles sin protección uno frente al otro ni arrastre un panel sobre otro.
Identifique el cuerpo del panel, la cara posterior, los elementos decorativos de espejo o el acabado, y cualquier área que no deba cortarse ni perforarse. Si el diseño tiene formas, juntas o un patrón direccional, marque una flecha hacia arriba en la parte posterior de cada panel. Los reflejos permiten detectar fácilmente pequeños errores de alineación, ya que las líneas reflejadas se interrumpen en las juntas.
Utilice el Categoría de paneles acústicos de MDF para identificar la familia de productos correspondiente. Luego, compare el modelo entregado con el catálogo actual y la muestra aprobada antes de seleccionar las herramientas o fijaciones.
Compruebe la pared y el método de fijación.
La pared debe ser lo suficientemente estable para el adhesivo y los tornillos. Anote si la superficie es de hormigón, mampostería, yeso, placa de yeso, entramado de madera, entramado metálico u otro tipo de construcción. Verifique la planitud, la resistencia de la superficie, la humedad, el polvo, los revestimientos sueltos, las juntas de dilatación, las instalaciones ocultas y las zonas de anclaje aprobadas.
No cubra la humedad activa, el acabado suelto ni los movimientos de la pared sin resolver. Confirme la compatibilidad del adhesivo, el tipo de tornillo y anclaje, la distancia mínima al borde, la profundidad de fijación y los requisitos acústicos o contra incendios del proyecto. Los dos métodos de fijación tienen funciones diferentes: el adhesivo distribuye el contacto por la parte posterior, mientras que los tornillos, colocados correctamente, fijan el panel firmemente a la pared.
Prepare las herramientas y un área de trabajo protegida.
Prepare las herramientas necesarias para la instalación: cinta métrica, lápiz, cúter, adhesivo fuerte sin clavos, masilla y herramientas de fijación. Para la fijación con tornillos, prepare también el taladro o destornillador eléctrico homologado, brocas, tornillos, anclajes, nivel o láser, regla, escuadra, soportes para paneles, materiales de limpieza y el equipo de protección personal necesario.
Prepare una superficie de corte plana, alejada de la pared terminada. Proteja los pisos y los accesorios cercanos, controle el polvo según el tipo de panel y sustrato, y localice las instalaciones eléctricas, de plomería u otros servicios ocultos antes de perforar. Contrate a un profesional calificado si el trabajo se acerca a instalaciones activas o si no está autorizado por el instalador.
Mide la pared y luego mide la posición de cada panel.
Los dos primeros pasos son diferentes. Medir la pared crea el diseño general. Medir la posición de un panel da el tamaño de una pieza cortada.
Paso 1: Medir y trazar el mapa de la pared.
Mide el ancho y la altura de la pared en varios puntos. Comprueba que las esquinas estén a escuadra y que el suelo, el techo y la carpintería cercana estén nivelados y a plomo. Marca las puertas, enchufes, interruptores, termostatos, tuberías, paneles de acceso, zócalos, molduras del techo y cualquier elemento que deba permanecer desmontable.
Dibuja la elevación de la pared y la cuadrícula de paneles a partir de esas medidas. Elige un punto de partida que mantenga rectas las líneas más visibles y equilibre los paneles cortados en ambos extremos. Evita una franja estrecha en un borde expuesto cuando mover la cuadrícula pueda crear un resultado más limpio. Si las formas de los espejos forman un diseño repetitivo, coloca primero varios paneles en el suelo y comprueba cómo el patrón cruzará las juntas y las esquinas.
Marque en la pared una línea de referencia horizontal y una vertical. Estas serán las líneas de referencia para la instalación. No se fíe de un suelo o techo irregular. Etiquete la posición de cada panel en el dibujo y en cinta adhesiva removible para que cada pieza cortada vuelva a su lugar correcto.
Paso 2: Mida el panel acústico del espejo para determinar su posición.
Mida el espacio real para cada panel. Tenga en cuenta la junta aprobada, el espacio perimetral, el remate, el detalle de la esquina y cualquier espacio de movimiento. Transfiera las dimensiones al reverso del panel e incluya su marca de posición y flecha de orientación. Para una toma de corriente o un borde irregular, mida desde dos líneas de referencia fijas en lugar de trazar la superficie circundante.
Antes de cortar, compruebe cada panel marcado con el plano de elevación. Las dimensiones de la pared pueden variar de una fila a otra, así que mida cada pieza del borde. En una esquina, decida qué acabado de pared se aplica primero, si el diseño incluye molduras y cómo debe coincidir el patrón reflejado. Apruebe este detalle antes de cortar todas las piezas de la esquina.
Corte los paneles acústicos de espejo al tamaño marcado.
El tercer paso es el corte. La cuchilla, la velocidad de avance, el soporte y la orientación de la cara correctos dependen de la construcción del panel y de la máquina de corte. Confirme estos datos en las instrucciones y realice un corte de prueba.
Realizar e inspeccionar un corte de prueba.
Para la prueba, utilice un trozo sobrante o un panel de repuesto. La herramienta debe producir un borde limpio, sin astillas, rasgaduras, capas separadas, daños por calor ni marcas en el acabado pulido. Sujete el panel en toda su superficie y despeje la trayectoria de corte de cables, polvo y restos de piezas terminadas.
Marque el corte en la parte posterior si las instrucciones de la herramienta lo permiten. Utilice una regla o guía de máquina para obtener un borde visible largo. Para muescas y aberturas, siga cualquier requisito de esquinas internas redondeadas o tratamiento especial de bordes. No corte piezas decorativas de espejo, partes incrustadas ni capas desconocidas sin autorización.
Prueba el ajuste y etiqueta cada pieza cortada.
Coloque el panel cortado en su posición final en la pared antes de aplicar el adhesivo. Verifique el ancho de la junta, el nivel, el patrón, el borde, el espacio libre alrededor de los herrajes y la ubicación prevista de los tornillos. Realice las correcciones necesarias en la mesa de corte. No intente recortar un panel con adhesivo contra la pared.
Etiquete la parte posterior indicando su posición en la pared y su orientación. Mantenga limpios los bordes cortados y aplique cualquier acabado o moldura aprobados. Retire el polvo de la parte posterior, ya que el polvo suelto puede debilitar el adhesivo.
Aplique adhesivo sin uñas en la parte posterior.
Aplique el adhesivo solo después de medir, cortar y probar el ajuste del panel. El adhesivo no puede corregir una pared deformada ni un panel de tamaño incorrecto.
Paso 4: Preparar las superficies de contacto
La pared y la parte posterior del panel deben estar limpias y ser aptas para el adhesivo seleccionado. Retire el polvo y los restos de material sin mojar el panel. Si el adhesivo requiere imprimación, utilice la imprimación aprobada y respete su tiempo de secado.
Confirme el tiempo de trabajo, la temperatura de aplicación, las condiciones de curado, el tamaño del cordón, el patrón de cobertura y la compatibilidad del adhesivo. Que sea "sin clavos" no significa que un mismo adhesivo sea adecuado para cualquier tipo de panel, pintura, yeso, muro de mampostería, ambiente húmedo o requisito de resistencia al fuego. Utilice el lote aprobado y conserve su información técnica en el registro de instalación.
Paso 5: Aplicar el adhesivo siguiendo un patrón controlado.
Coloque el panel boca abajo sobre una superficie limpia y protegida. Aplique adhesivo sin clavos en la parte posterior siguiendo el patrón de cordón especificado. Evite aplicarlo en los bordes, ya que el adhesivo podría alcanzar la superficie decorativa o una junta visible. Aplique adhesivo adicional alrededor del perímetro solo cuando el método aprobado lo requiera.
Sujete el panel mientras lo levanta para evitar que se doble. Alinee el panel con las líneas de referencia y el panel contiguo, colóquelo contra la pared y presione uniformemente según las instrucciones. Verifique la junta y el patrón reflejado antes de que el adhesivo se adhiera. No deslice la cara acabada contra un panel ya instalado.
Fije los paneles con un taladro eléctrico y tornillos.
La secuencia de instalación utiliza tornillos después del adhesivo. Inserte las fijaciones mecánicas en el material de pared o la estructura aprobados. No elija su número ni posición basándose únicamente en el tamaño del panel.
Paso 6: Taladre y fije sin deformar el panel.
Marque la posición de los tornillos antes de aplicar el adhesivo, siempre que sea posible. Mantenga los agujeros alejados de los bordes del panel, las zonas con espejos decorativos, las juntas y las instalaciones ocultas. Utilice la broca, el tornillo, la arandela, el taco o el anclaje especificados para el panel y la pared. Perfore previamente cuando sea necesario para evitar que el panel se agriete, se aplaste o se desprenda de la superficie.
Apriete cada tornillo hasta que sujete el panel sin abollarlo ni ondularlo. Trabaje de forma equilibrada a lo largo del panel y compruebe constantemente el nivel y la alineación de las juntas. Instale cualquier fijación oculta, tapa, moldura, masilla o acabado de color que coincida con la muestra aprobada. No utilice masilla para ocultar un tornillo flojo o demasiado apretado.
El cronograma de fijación debe incluir el tipo de tornillo, el material, la cabeza, el diámetro, la longitud, el anclaje, la separación, la distancia al borde y el tipo de pared. En paredes grandes, complete primero una muestra y manténgala disponible hasta que el arquitecto, el contratista o el representante del cliente aprueben el diseño y los detalles de fijación.
Coordinar juntas, esquinas y aberturas de servicio.
Mantenga la junta planificada en cada fila. En las esquinas interiores y exteriores, utilice el corte, la junta a tope, el retorno o el remate aprobados. Alrededor de los enchufes y los paneles de acceso, mantenga las distancias de seguridad requeridas y permita la remoción de las tapas; el trabajo eléctrico debe ser realizado o asegurado por personal autorizado.
En las uniones entre paneles, como zócalos, techos, puertas o armarios, evite forzarlos contra superficies irregulares. Un perímetro bien definido ofrece una apariencia más recta y deja espacio para la moldura o el sellador aprobados, según se especifique.
Termina la pared y revisa cada panel.
El último paso es la inspección. Observe la pared de cerca y desde posiciones normales en la habitación. Un patrón reflectante puede revelar diferentes problemas de alineación a medida que el observador se mueve.
Verifique la nivelación, la verticalidad, las juntas, la continuidad del patrón, las líneas reflejadas, las esquinas, los espacios perimetrales, los acabados de los tornillos, el exceso de adhesivo, los arañazos, las astillas, la contaminación de la superficie, los bordes sueltos y el movimiento alrededor de las aberturas de servicio. Confirme que los enchufes, los paneles de acceso, los embellecedores y los acabados adyacentes sigan funcionando correctamente. Retire la película protectora únicamente en la etapa especificada para el producto y el proyecto.
Registre la superficie de la pared, el modelo y lote del panel, el adhesivo, las fijaciones, el sustrato de la pared, el instalador, la fecha, la aprobación de la muestra y las piezas reemplazadas. Conserve paneles de repuesto idénticos y materiales de reparación aprobados cuando sea necesario. Siga las instrucciones de cuidado vigentes para la superficie decorativa. No asuma que el limpiacristales, el disolvente, una esponja abrasiva o el exceso de agua son adecuados para el panel acústico de espejo completo.
Antes de realizar el pedido, revise HHUANG DYCOR para el alcance actual del producto y del proyecto, entonces enviar HHUANG DECOR las dimensiones de la pared y las condiciones de instalación. Incluya el tipo de pared, la cantidad de paneles, las condiciones de la habitación, los detalles de los bordes y esquinas, y las aberturas para servicios. Solicite las dimensiones actuales de los paneles, instrucciones de corte, recomendaciones de adhesivos y tornillos, información de embalaje, instrucciones de cuidado y asistencia para la instalación.
FAQ
P1: ¿Se pueden instalar los paneles acústicos de espejo solo con adhesivo?
A1: La secuencia de instalación proporcionada utiliza adhesivo sin clavos, seguido de fijación con taladro eléctrico y tornillos. No omita las fijaciones mecánicas a menos que HUAHONG DECOR y el responsable del proyecto aprueben un método diferente para el panel, la pared, la altura y las condiciones de uso específicas.
P2: ¿Cómo hago el corte alrededor de los enchufes e interruptores?
A2: Solicite a un técnico autorizado que asegure la zona, mida la abertura desde puntos de referencia fijos, transfiera las dimensiones al panel posterior y realice un corte preciso con la herramienta aprobada. Mantenga la distancia de seguridad requerida y no cubra la caja eléctrica ni impida que se retire la tapa.
P3: ¿Un panel acústico de espejo está hecho completamente de vidrio?
A3: No se debe hacer tal suposición. El término «Espejo» se refiere al elemento decorativo o acabado visible, mientras que el producto se suministra como un conjunto de panel acústico. Confirme el cuerpo, el soporte, las capas decorativas y los límites de corte exactos para el modelo seleccionado.
P4: ¿Qué información deben solicitar los instaladores antes de la instalación de paneles acústicos de pared?
A4: Solicite el modelo y las dimensiones exactas, la construcción del panel, la dirección del patrón, los límites del sustrato, la herramienta de corte, el adhesivo, el programa de tornillos y anclajes, los detalles de las juntas y los bordes, la duración de la película protectora, el método de limpieza y cualquier documentación específica del proyecto relativa al fuego o al aislamiento acústico.