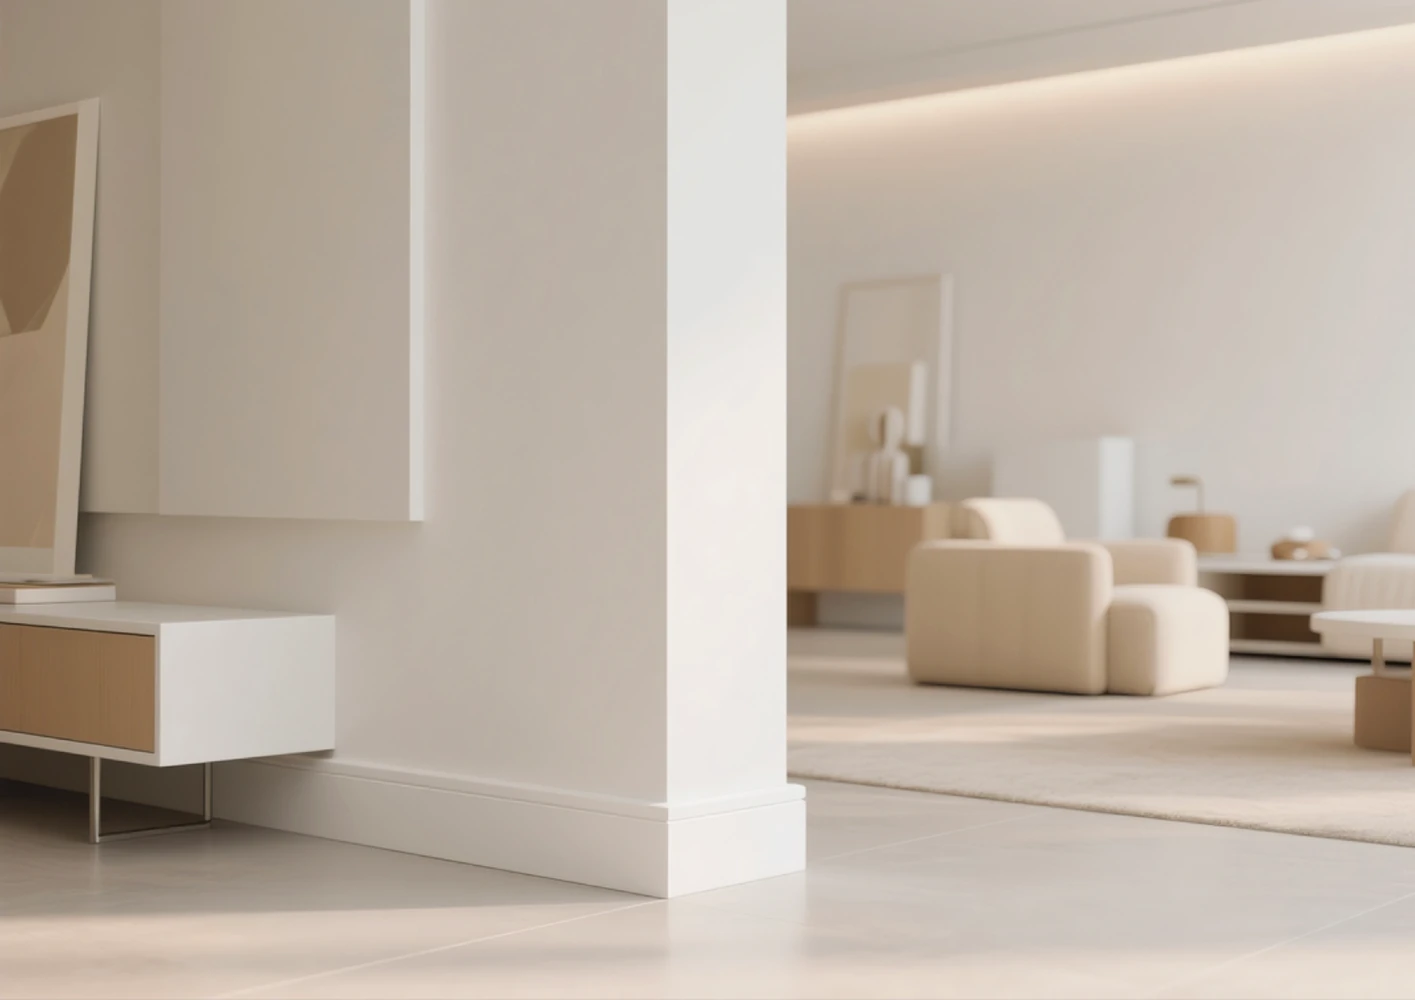
Фраза «прикрепить плинтус» звучит как единая задача, но видимый результат определяется несколькими шагами ранее. Некачественный распил оставляет неудобный стык, неподходящая поверхность для склеивания ослабляет контакт, а преждевременное прибивание гвоздями закрепляет ошибки выравнивания в помещении. Остатки клея могут испортить даже хорошо закрепленную планку. Поэтому оптимальный подход состоит из четырех взаимосвязанных решений: распил, склеивание, крепление и очистка.
ХУАХОН ДЕКОР Коллекция юбок PS Конструкция разработана с учетом практичности процесса. Плинтусы легкие и удобны для резки, транспортировки, крепления клеем и гвоздями. Полистирол также обладает водо- и влагостойкостью, а гладкая поверхность легко очищается. Эти характеристики важны для тех, кто ищет способ установить плинтус в спальне, коридоре, гостиничном номере, офисе или на ремонтной площадке, где чистая отделка и простота в уходе важнее, чем сложная процедура установки.
F8057 представляет собой конкретный эталон, а не неопределенный профиль. Его документированный профиль имеет размеры 80 мм на 15 мм, длину 2,9 м и восемь указанных кодов отделки. Эти данные помогают принимать решения о площади покрытия, выступе, соединениях, отделке и количестве до начала резки.
Данный продукт также является частью более широкой корпоративной системы. Фон HUAHONG DECOR Бренд позиционируется как подразделение Huahong Art Home, занимающееся архитектурными материалами и появившееся в 2024 году, опирающееся на 26-летний опыт в области художественного оформления интерьеров. В центре внимания – стеновые системы из полистирола и древесно-полимерного композита, решетки, плинтусы и сопутствующие материалы. Такое разнообразие имеет значение, когда напольная линия должна гармонировать с другими элементами стен.
Решение 1: Перед резкой подгоните профиль F8057 под форму стены.
Начните с профиля стены и прилегающего пола. Плинтус должен закрывать основание стены, не мешая дверным наличникам, шкафам или переходу между полами. Аккуратное соединение плинтуса и стены достигается проверкой этих соотношений перед обрезкой, а не сокрытием несоответствий позже.
Перед измерениями ознакомьтесь с профилем 80 мм x 15 мм.
Профиль размером 80 мм на 15 мм предоставляет команде два измерения для сравнения с помещением. Больший размер лицевой стороны влияет на покрытие нижней части стены; меньший размер влияет на выступание. Оба параметра влияют на пересечения дверных проемов, зазоры между мебелью и плинтусом, а также на линию тени над ним. Затем физический образец можно сравнить с чертежами или фотографиями помещения.
Не следует предполагать, что все существующие линии плинтуса на стене прямые или все внутренние углы прямые. Измерьте высоту установки, отметьте изменения плоскости стены и определите места, где наличник или другой молдинг соприкасается с плинтусом. Перед резкой готового материала уточните, как следует обрабатывать значительные неровности.
Спланируйте отрезки длиной 2,9 м, соединения и обрезки.
Длина в 2,9 м определяет, сколько целых досок потребуется для стены, где могут располагаться стыки и можно ли использовать обрезки для следующего участка. Сначала составьте план самых длинных и наиболее заметных стен. По возможности избегайте неизбежных стыков в ключевых углах. Список распиловок предотвратит ситуацию, когда из-за обрезков на ранней стадии строительства на следующей стене образуется ненужный стык.
Сначала вырежьте саму стену и примерьте её насухо.
Обрежьте каждую доску по измеренному размеру. Поддержите профиль, используйте подходящий инструмент и следуйте инструкциям по его применению. Цель — получить аккуратный край, который соприкасается с соседней деталью, не смещая доску с линии. Не предполагайте универсальный угол, не проверив фактический угол.
Предварительная примерка — это пауза, которая защищает следующие два этапа. Приложите отрезанный участок к стене, подтвердите его ориентацию, осмотрите торцы и убедитесь, что лицевая сторона соответствует намеченной линии. Для тех, кто только учится устанавливать плинтусы по периметру комнаты, это тот момент, когда небольшую ошибку в измерениях или раскрое еще легко исправить. Когда же в дело вступают клей и гвозди, исправление становится медленнее и с большей вероятностью оставляет следы на отделке.
Вариант 2: Нанести клей на подготовленную поверхность из полистирола.
Клей обеспечивает плотное прилегание задней стороны плинтуса из полистирола к стене. Он не может компенсировать неправильно обрезанную доску и не может сделать слабую или загрязненную поверхность стены надежной. Рассматривайте склеивание как отдельное решение, требующее собственных проверок, а не как быстрое решение между обрезкой и забиванием гвоздей.
Подготовьте стену и обратную сторону доски.
Контактные поверхности должны быть чистыми, прочными и пригодными для нанесения клея. Удалите рыхлую пыль и проверьте наличие покрытий, влаги или повреждений, которые могут препятствовать контакту. Следите за тем, чтобы на обратной стороне доски не было мусора. В случаях, когда состояние стены вызывает сомнения, подтвердите необходимую подготовку, вместо того чтобы добавлять больше клея.
Выбирайте клей, совместимый с местом установки.
Нанесите клей на обратную сторону доски, затем расположите секцию на подготовленной стене. Выбор подходящего клея зависит от типа полистиролового профиля, основания стены, покрытия и условий в помещении. Используйте клей, совместимость которого с обеими поверхностями подтверждена производителем, и следуйте указанным инструкциям по нанесению и отверждению.
Не стоит гадать о размере, рисунке или времени схватывания клея, основываясь на общих примерах. Эти параметры могут различаться в зависимости от клеевой системы. Практическое правило простое: обеспечьте равномерный контакт плинтуса без излишков клея на видимой поверхности и правильно расположите его для этапа механической фиксации.
Используйте влагозащитные средства там, где этого требует помещение.
Декоративные молдинги HUAHONG PS водонепроницаемы и влагостойки. В отличие от деревянных планок, PS не использует древесноволокнистую структуру, которая может гнить, деформироваться или набухать во влажном состоянии. Это помогает в помещениях, подверженных воздействию влажности или сезонным изменениям влажности. Стена, клей и стыки по-прежнему требуют использования совместимых материалов и прочного основания.
Для плинтуса в коридоре, гостевой комнате, офисе или гостиничном интерьере влагостойкость может уменьшить одну из распространенных проблем, связанных с материалами, а предварительно обработанная поверхность позволяет избежать обязательной отделки на месте. Выбор все равно должен отражать дизайн помещения, режим уборки и состояние стен, а не рассматривать одну характеристику материала как единственную спецификацию.
Вариант 3: Сначала выровнять, затем укрепить гвоздями.
При креплении плинтуса вдоль длинной стены необходимо проверять выравнивание перед установкой каждого участка. Прижмите приклеенный кусок на нужное место, сравните его с предыдущим участком и смотрите вдоль верхнего края, а не ориентируйтесь только на точку прямо перед собой. Гвозди должны сохранять эту линию, а не определять её.
Не допускайте, чтобы облегченная отделка соответствовала задуманной линии.
Молдинги из полистирола легкие, но при этом прочные, что делает их пригодными для обычной внутренней отделки. Длинный отрезок удобнее в обращении и перемещении, так как позволяет проверить торцевой стык и верхнюю линию. Преимущество заключается в контроле, а не в возможности пропустить этап поддержки: деталь должна оставаться устойчивой до тех пор, пока не будет правильно установлена.
Используйте гвозди в качестве механической поддержки, а не вместо подгонки.
После нанесения клея и проверки положения закрепите выровненную доску гвоздями. Подходящий крепеж, расстояние между ними, точка входа и настройка инструмента зависят от профиля, конструкции стены и инструкций проекта. При необходимости проверьте незаметный фрагмент, защитите видимую поверхность и избегайте забивания крепежа таким образом, чтобы он смещал профиль или повреждал покрытие.
Перед началом монтажа согласуйте расположение смежных профилей.
В комнате может использоваться не только плинтус. Коллекция PS от HUAHONG также включает в себя карнизы и молдинги, с профилями от простых современных линий до более декоративных форм. Если эти элементы находятся в одном помещении, согласуйте их цвет, рельеф, выступ и детали перехода одновременно. Тот же принцип применим, когда плинтус сочетается с... системы стеновых панелей PSЛиния пола и поверхность стен должны выглядеть как единое целое, продуманное до мелочей.
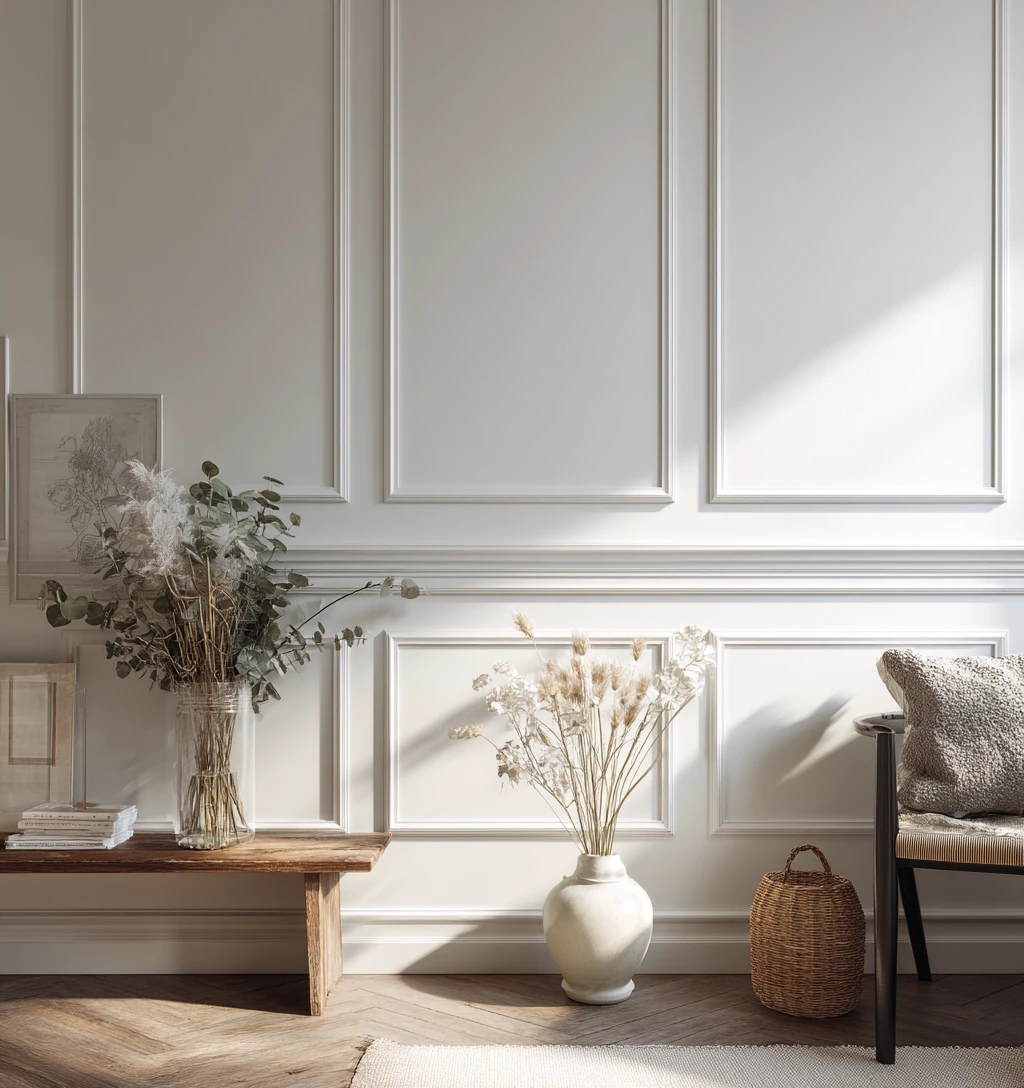
Такой скоординированный ассортимент позволяет избежать разрозненных решений по проекту. Компания HUAHONG DECOR специализируется на стеновых системах из PS и WPC, решетках, плинтусах и сопутствующих отделочных материалах. Покупатель может обсудить смежные продукты, варианты отделки, образцы и требования к заказу в рамках единого партнерского соглашения с отделом разработки и поставок, одновременно подтверждая спецификации каждого изделия.
Решение 4: Очистить поверхность и проверить готовую систему отделки.
Монтаж не считается завершенным, когда забит последний гвоздь. Очистка и осмотр позволяют определить, обеспечили ли принятые ранее решения ровную линию. Работайте по секциям, пока еще можно устранять остатки клея, выравнивать и исправлять состояние швов, не нарушая целостность готового помещения.
Незамедлительно протрите открытую поверхность.
После установки протрите открытую поверхность насухо. Молдинги из полистирола HUAHONG имеют гладкую, не требующую особого ухода поверхность, которую можно протирать влажной тканью. Если клей попал на видимую поверхность, следуйте инструкциям по очистке, указанным поставщиком клея, и избегайте использования неразрешенных растворителей, которые могут повредить покрытие. Своевременная очистка защитит окончательный внешний вид и упростит последующую проверку.
Осмотрите углы, стыки и нижний край.
Осмотрите готовый участок с нескольких ракурсов. Проверьте, меняется ли высота верхней линии, плотно ли прилегают торцевые стыки и сходятся ли углы без отрыва одного куска от стены. Осмотрите нижний край на предмет соприкосновения с полом и стык плинтуса со стеной сверху. Стык, который выглядит приемлемо с расстояния вытянутой руки, может стать заметным при прохождении света вдоль стены, поэтому используйте как крупный план, так и более широкий обзор.
Выбирайте готовую или окрашиваемую отделку, учитывая особенности помещения.
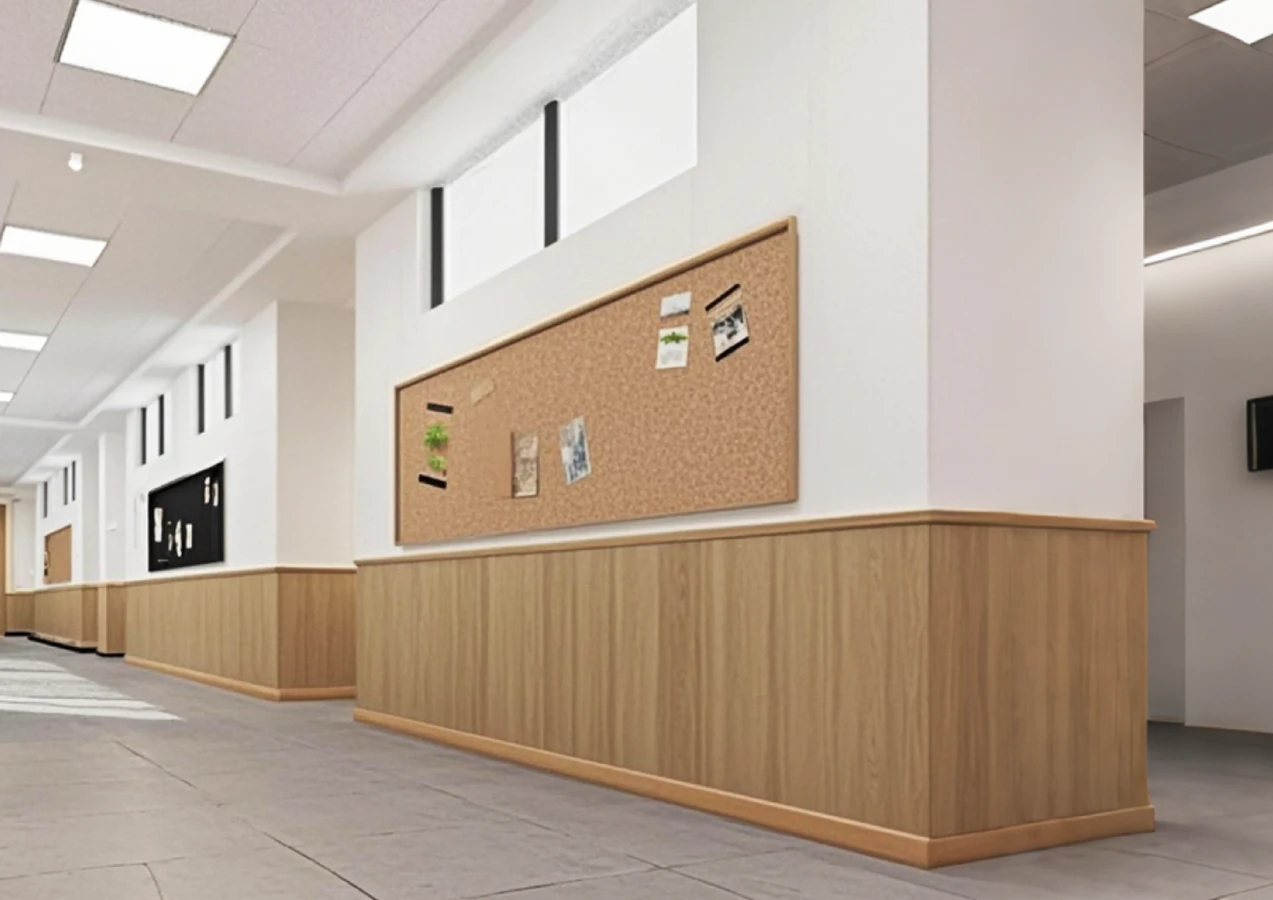
В линейке PS представлены готовые варианты отделки и загрунтованные белые варианты, которые можно покрасить. Сам цвет F8057 имеет восемь кодов отделки, включая варианты с имитацией текстуры дерева. Такой выбор позволяет подобрать плинтус, который будет гармонично сочетаться со стеной, сливаться с оттенком пола или создавать намеренный контраст. Убедитесь, что утвержденный образец соответствует реальному освещению в помещении, поскольку изображение на экране само по себе не может определить окончательный цвет или текстуру.
Преобразуйте результат в четкий запрос на продукт.
В заявке следует указать выбранный профиль, отделку, общую длину стен, количество помещений, предполагаемое количество, основание, способ монтажа, состояние углов и ожидаемый график доставки. Добавьте фотографии или чертежи мест стыков плинтуса с дверями, мебелью, стеновыми панелями или другими элементами отделки. примеры и руководства Это может обеспечить контекст применения, но для текущего проекта все еще необходимы собственные измерения и подтвержденный образец.
Для крупных или повторных заказов HUAHONG DECOR связывает выбор профилей с более широкими ресурсами в области дизайна и поставок. Компания сотрудничает с более чем 100 профессионалами в области дизайна из головной компании, располагает ежегодной библиотекой, насчитывающей более 10 000 вариантов, а также оказывает поддержку в производстве и складском хранении. Эти возможности помогают сравнивать образцы, сохранять коды отделки, координировать соответствующие профили и сверять повторные заказы с первоначальным выбором.
Вывод
Правильная установка плинтуса из полистирола выполняется в четыре этапа в правильной последовательности. Сначала производится обрезка по фактической длине стены. Затем наносится подходящий клей на подготовленные поверхности. После этого плинтус выравнивается перед креплением гвоздями. Затем поверхность плинтуса протирается, и проверяется вся линия. Выполнение этой последовательности работ позволяет легче выявить ошибку на ранней стадии, когда её ещё можно исправить.
F8057 добавляет в этот процесс профиль размером 80 мм на 15 мм, длину 2,9 м и несколько вариантов отделки. HUAHONG DECOR добавляет водонепроницаемые, легкие и не требующие особого ухода материалы из полистирола, а также скоординированный ассортимент плинтусов, карнизов, молдингов и стеновых материалов. Сообщите размеры помещения, направление отделки, количество материалов, основание и детали стыков через запрос по проекту Таким образом, требования к продукту и установке можно рассматривать одновременно.
Часто задаваемые вопросы
В1: Можно ли установить плинтус из полистирола только с помощью клея?
A1: Подтвержденная последовательность монтажа предполагает нанесение клея на обратную сторону с последующим креплением гвоздями. Допустимость использования только клея зависит от профиля, основания стены, покрытия, клеевой системы и требований проекта. Необходимо уточнить метод у поставщиков плинтуса и клея, а не исключать этап механического крепления без предварительного согласования.
В2: Как монтажникам следует поступать с углами, если угол среза не указан?
A2: Измерьте фактический угол, отметьте места соединения, сделайте контролируемые разрезы и примерьте их перед нанесением клея. Не предполагайте, что каждый угол идеально прямой, и не используйте неподдерживаемый угол только потому, что это распространенный вариант. Следуйте инструкциям соответствующего поставщика и инструмента, если необходимая обработка угла не указана в документации.
В3: Какую информацию следует предоставить при заказе плинтуса из полистирола для проекта?
A3: Укажите желаемый профиль и отделку, длину стен, количество помещений, предполагаемое количество материала, основание стены, детали углов и дверных проемов, сопутствующие материалы для стен или молдингов, способ монтажа, требования к образцам, потребности в упаковке и график доставки. Четкая информация о объекте позволит поставщику оценить выбор продукции и условия монтажа, не гадая на кофейной гуще.