La mayoría de los problemas con los paneles de pared comienzan antes de colocar el primero. La pared parece casi plana, la primera línea se traza a ojo o el corte para el enchufe se deja para el último momento. Con los paneles de pared PS 3D, esos pequeños errores se notan en el acabado final.
Para una instalación impecable, primero revise la pared. Luego, defina la línea de inicio, marque los cortes y mantenga el primer panel recto. El adhesivo sin clavos es apto para muchas paredes interiores; se pueden añadir clavos cuando el material o el proyecto requieran una fijación adicional.
HUAHONG DECORACIÓN Paneles de pared PS Están fabricados en plástico PS para decoración de interiores. Son ligeros, impermeables, de fácil instalación y están disponibles con acabados que imitan madera, metal, piedra y otros efectos decorativos. La longitud estándar de los paneles es de 2,95 metros, aunque se puede personalizar; según el modelo, el ancho puede variar entre 16 cm y 11 cm.
La siguiente guía sigue el orden que los instaladores suelen seguir en obra. Incluye la preparación de la pared, la medición, el corte, la aplicación del adhesivo, la colocación de clavos (opcional), las comprobaciones finales y las preguntas que los compradores suelen hacer antes de empezar a pintar una pared decorativa en un dormitorio, salón o local comercial.
Antes de comenzar
El proceso sigue un orden sencillo: preparar la pared, medir la superficie, planificar la distribución, cortar los paneles, aplicar el adhesivo, colocar los paneles en secuencia y añadir clavos si es necesario.
Necesitarás:
– Paneles de pared 3D PS
– Una máquina de corte
– Una cinta métrica o regla
– Un lápiz o herramienta para marcar
– Adhesivo sin uñas
– Clavos, si se requiere fijación mecánica.
– Material de nivelación para zonas de pared irregulares
– Guantes y protección básica de seguridad
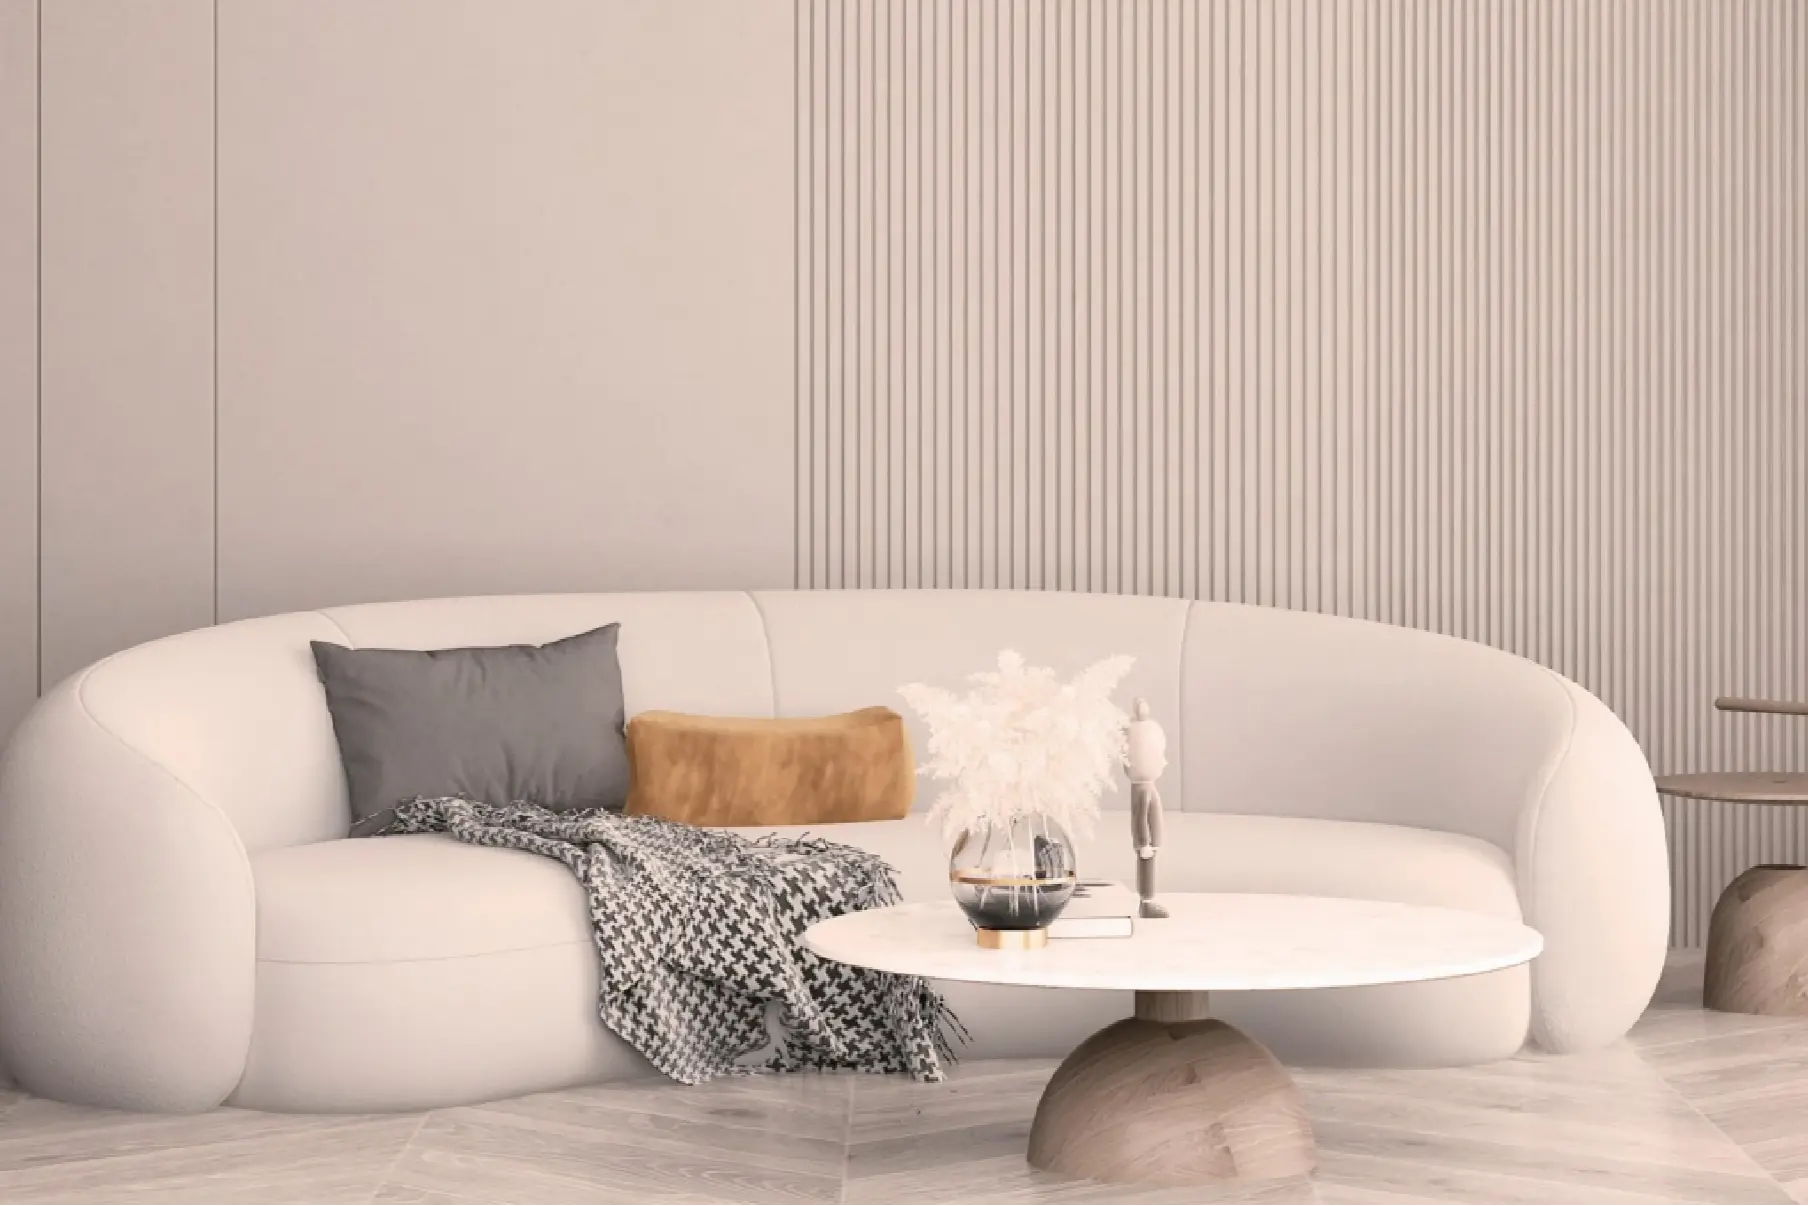
Extienda varios paneles antes de aplicar el adhesivo. En superficies con vetas de madera o estriadas, la dirección del acabado puede cambiar el aspecto de la pared bajo la luz. El fondo de un dormitorio, la pared del televisor, el mostrador de recepción o el área de paneles de un pasillo deben percibirse como una superficie continua, no como piezas separadas instaladas una por una.
Decida también dónde se ubicarán los cortes estrechos. Una franja delgada en un lado de la pared puede parecer improvisada. Si es posible, equilibre los cortes de la izquierda y la derecha. Marque los interruptores, enchufes, ventanas, marcos de puertas y zócalos antes de fijar el primer panel.
HUAHONG DECOR ofrece paneles de pared PS en diferentes tamaños, acabados y estilos decorativos, para que la orientación y el efecto de la superficie se adapten a la habitación. Una pequeña franja decorativa puede disimular un pequeño problema de distribución. Una pared completa no lo hará.
Pasos de instalación
Paso 1: Limpiar y nivelar la pared.
Empiece por la pared. Debe estar seca, lisa y libre de polvo, pintura suelta, grasa, humedad y zonas blandas. El adhesivo sin clavos necesita un contacto limpio. Una pared polvorienta puede parecer aceptable al principio, pero luego puede presentar problemas en los bordes.
Revisa más allá del centro de la pared. Usa un nivel o una regla cerca del suelo, el techo, las esquinas y las futuras juntas de los paneles. Las zonas elevadas empujan el panel hacia adelante; las zonas bajas dejan un hueco detrás.
Rellene las abolladuras o zonas hundidas con material nivelador y deje secar la reparación. Si la pared tiene una ondulación pronunciada, corrija primero el sustrato en lugar de forzar el panel de poliestireno expandido a que se doble. Limpie también el polvo de los zócalos y los bordes del suelo; esas zonas suelen pasar desapercibidas.
Paso 2: Medir el área de instalación
Mide la altura y el ancho de la pared, y luego verifica otros puntos. Muchas paredes no son perfectamente cuadradas. El techo puede tener una ligera pendiente de un lado a otro, o el suelo puede elevarse cerca de una esquina.
Para paneles de pared acanalados o con rejilla, determine cómo se extenderán las líneas verticales a lo largo de la pared. Marque la longitud de corte necesaria en cada panel. Las esquinas, ventanas, interruptores, enchufes y zócalos deben medirse por separado, no copiarse de una misma dimensión.
Para las aberturas, marque la parte posterior del panel con la misma orientación que la pared. Esto evita un error sencillo pero costoso: girar el panel y cortar la toma de corriente en el lado incorrecto. Para instalaciones en varias habitaciones o locales comerciales, escriba el número de pedido del panel ligeramente en la parte posterior.
Paso 3: Cortar los paneles de pared de poliestireno a la medida.
Marque claramente la línea de corte. Utilice una máquina de corte adecuada, use protección para ojos y manos, y sostenga el panel cerca del corte. Un panel largo no debe quedar suelto sobre la superficie de trabajo; la vibración puede dañar el borde.
Tras cortar, examine el borde antes de aplicar el adhesivo. Compruebe si hay astillas, secciones irregulares o alguna línea que se haya desviado de la marca. Coloque el panel contra la pared sin adhesivo. Reparar un corte ahora es más fácil que hacerlo con adhesivo en la parte posterior.
Es importante realizar pruebas de ajuste en seco en los laterales, esquinas, ventanas, interruptores y marcos de puertas. Un corte puede ser lo suficientemente preciso para encajar, pero aun así verse irregular desde una altura normal. Cuando los paneles se unan cerca de una esquina, verifique la línea de la ranura antes de fijarlos.
Paso 4: Aplicar adhesivo sin uñas
Aplique adhesivo sin clavos en la parte posterior del panel de pared de poliestireno. Cubra bien el centro y los bordes para asegurar un contacto firme, pero no sobrecargue el panel. Si el adhesivo se coloca demasiado cerca del borde exterior, puede filtrarse por la junta.
Los bordes son importantes porque definen la línea entre los paneles. Si un borde no está bien adherido, la junta puede abrirse ligeramente o proyectar una sombra. Mantenga el adhesivo alejado del borde y luego presione el panel con la suficiente firmeza para que se extienda por debajo de la superficie.
Trabaje un panel a la vez, a menos que el equipo de instalación esté listo para avanzar rápidamente. El tiempo de secado del adhesivo depende del producto y de las condiciones del lugar. Un ritmo constante permite verificar mejor la alineación.
Para paneles de poliestireno ligeros, la instalación con adhesivo mantiene la superficie visible limpia sobre una pared bien preparada. En un sustrato menos resistente, el adhesivo puede combinarse con clavos u otro método de fijación mecánica.
Paso 5: Instale los paneles en secuencia.
Coloca el primer panel contra la pared preparada y presiónalo hasta que quede fijo. Comprueba que esté vertical antes de que el adhesivo empiece a fijarlo. Esta primera pieza servirá de referencia para todo lo demás.
Presione desde el centro hacia afuera, luego a lo largo de los bordes y la línea de unión. Continúe con el siguiente panel, manteniendo las líneas de la rejilla alineadas con la pieza anterior. Retroceda después de cada pocos paneles. Una pared puede verse recta a la distancia de un brazo, pero aun así verse torcida desde el otro lado de la habitación.
Mantenga una distribución visualmente uniforme. En paneles estriados o con rejilla, la vista sigue las líneas. Si una pieza está ligeramente más alta, más baja o girada, el patrón evidencia el error.
Si la zona de instalación incluye una esquina exterior o un borde lateral visible, proceda con más detenimiento. Un borde limpio puede dar una apariencia de acabado a la pared; un borde áspero puede dar una impresión de menor cuidado en toda la superficie.
Paso 6: Añada clavos si se necesita una fijación adicional.
Los paneles también se pueden fijar con clavos. Esto puede resultar útil cuando la superficie de la pared es menos resistente, cuando se necesita mayor sujeción o cuando las especificaciones del proyecto requieren fijación mecánica.
Utilice los clavos con cuidado. Deben sujetar la fijación sin dañar la superficie decorativa. Elija posiciones de fijación que se adapten al perfil del panel y al soporte que hay detrás.
No utilice clavos como atajo para una mala preparación de la pared. Si la pared está húmeda, hueca, polvorienta o muy irregular, los clavos pueden sujetar el panel, pero no harán que la superficie se vea lisa.
En paredes más altas o en proyectos comerciales, también puede ser útil colocar soportes temporales mientras se seca el adhesivo.
Paso 7: Compruebe la pared terminada.
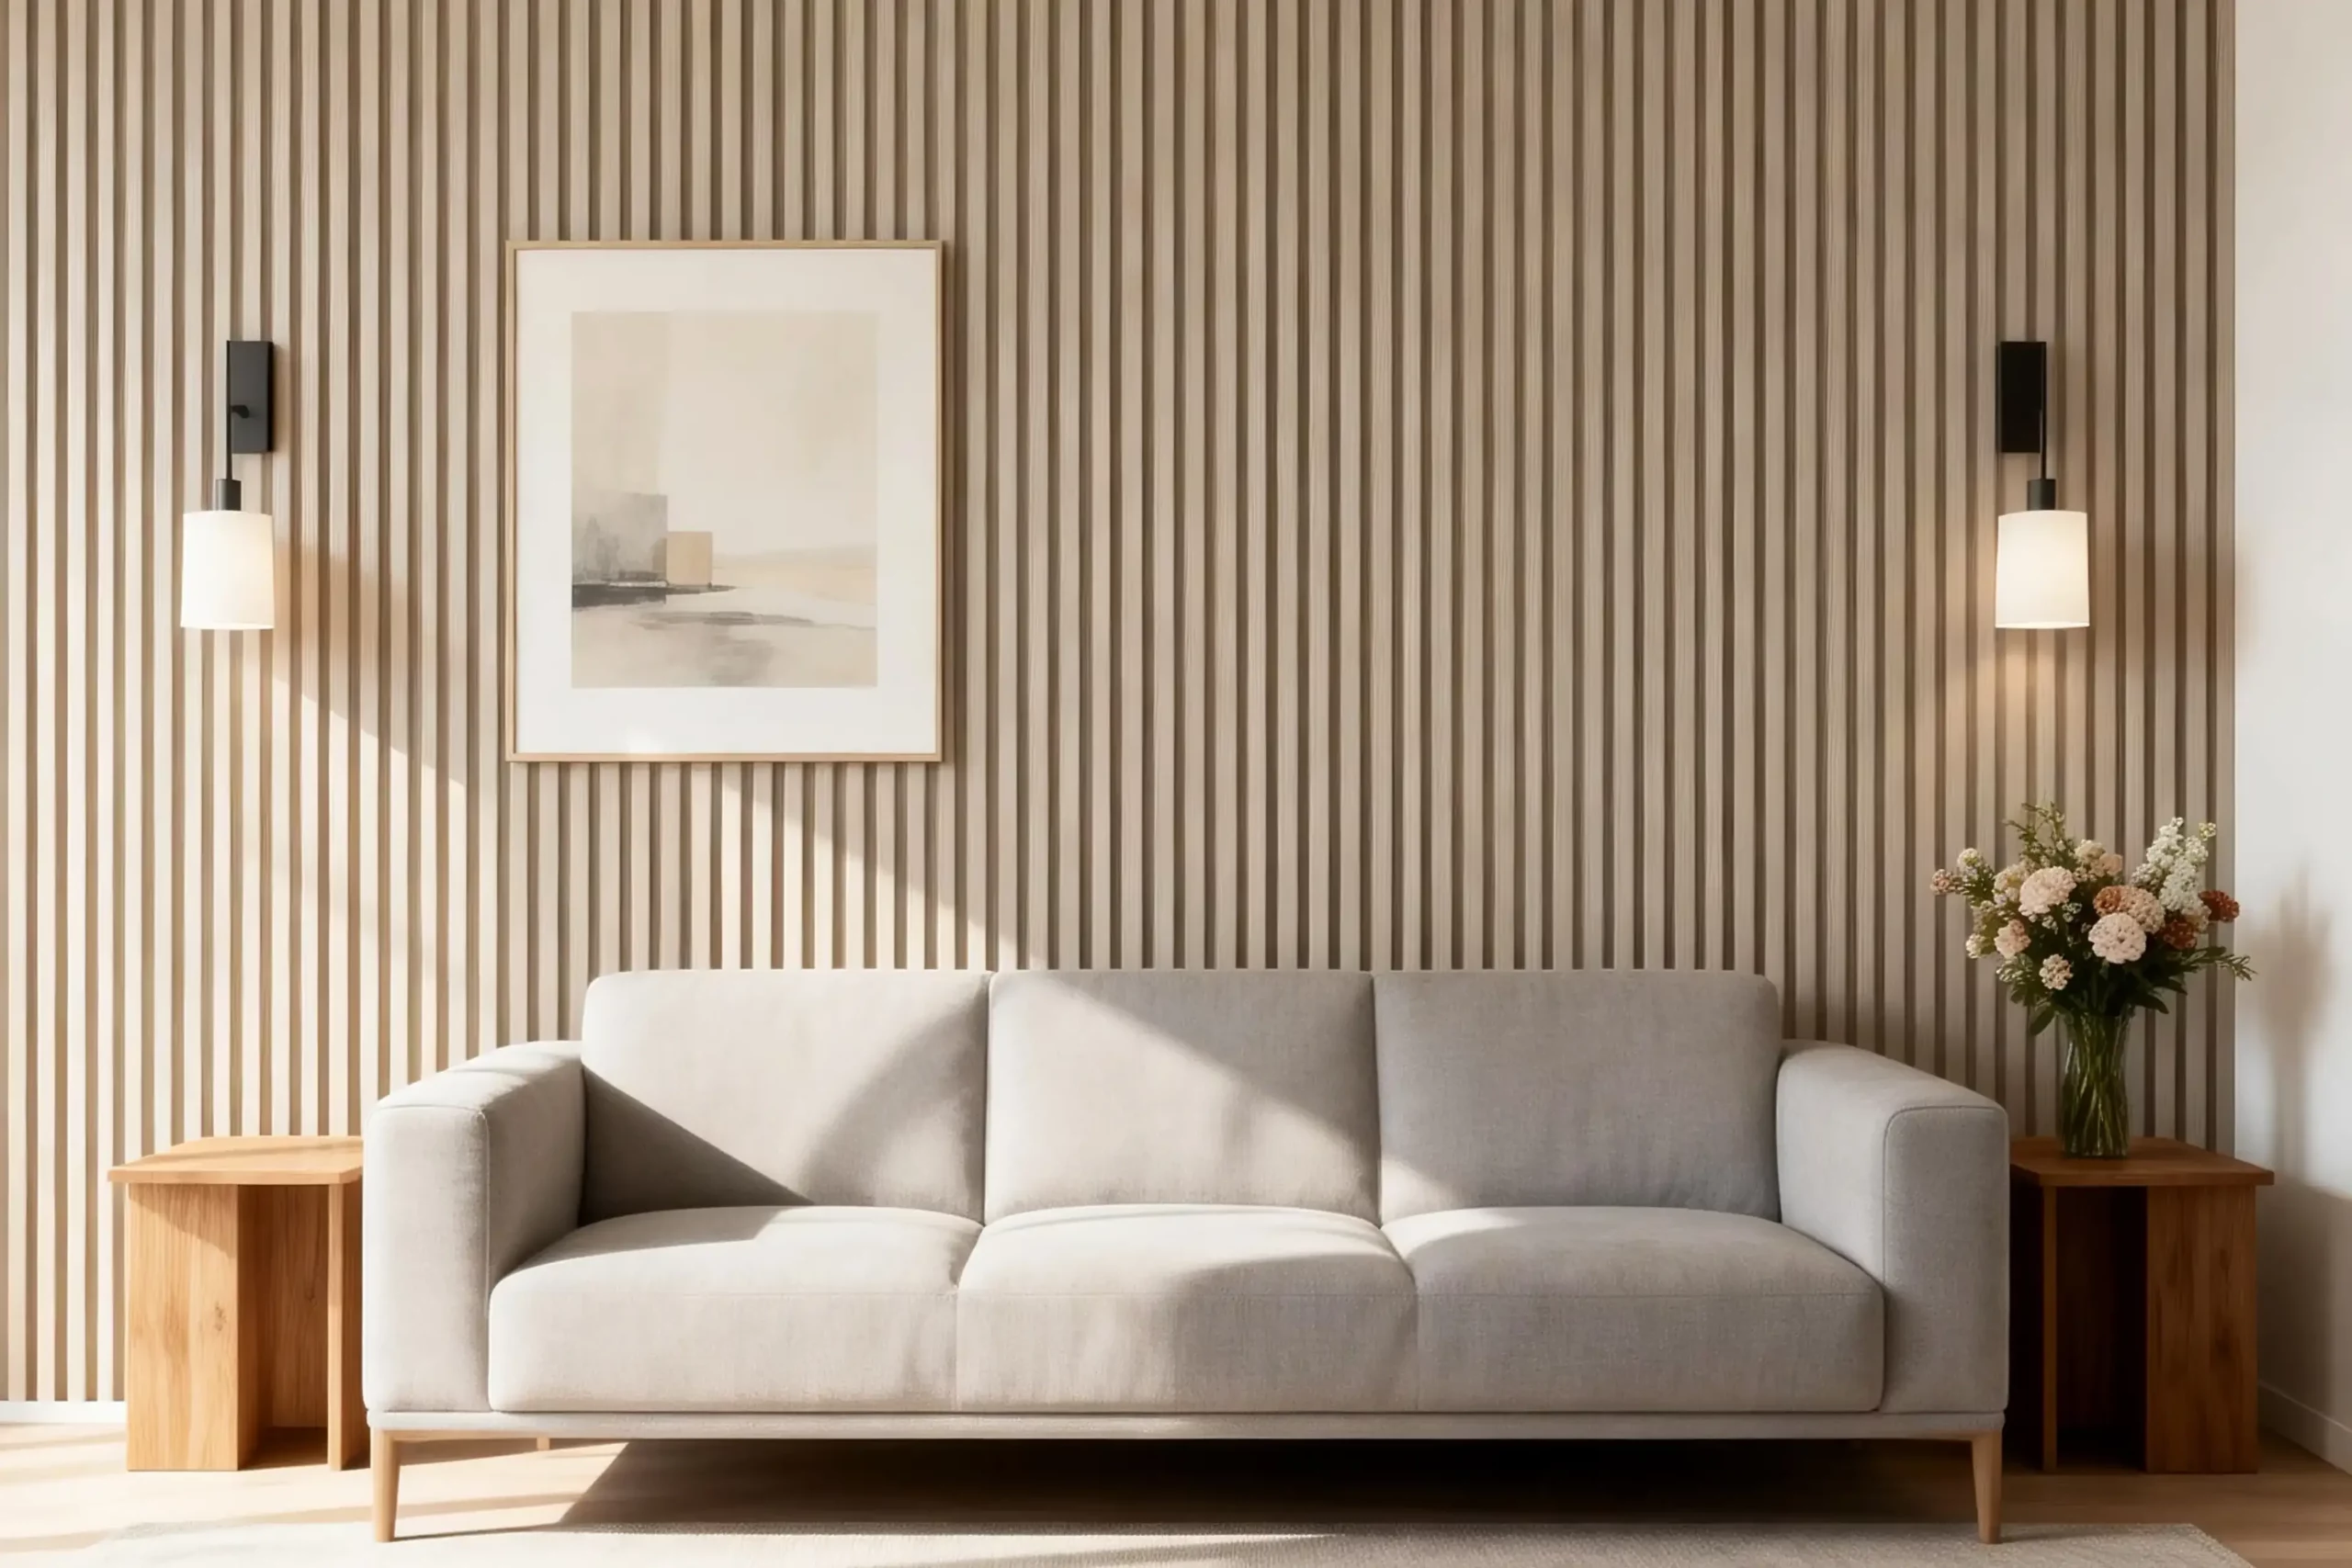
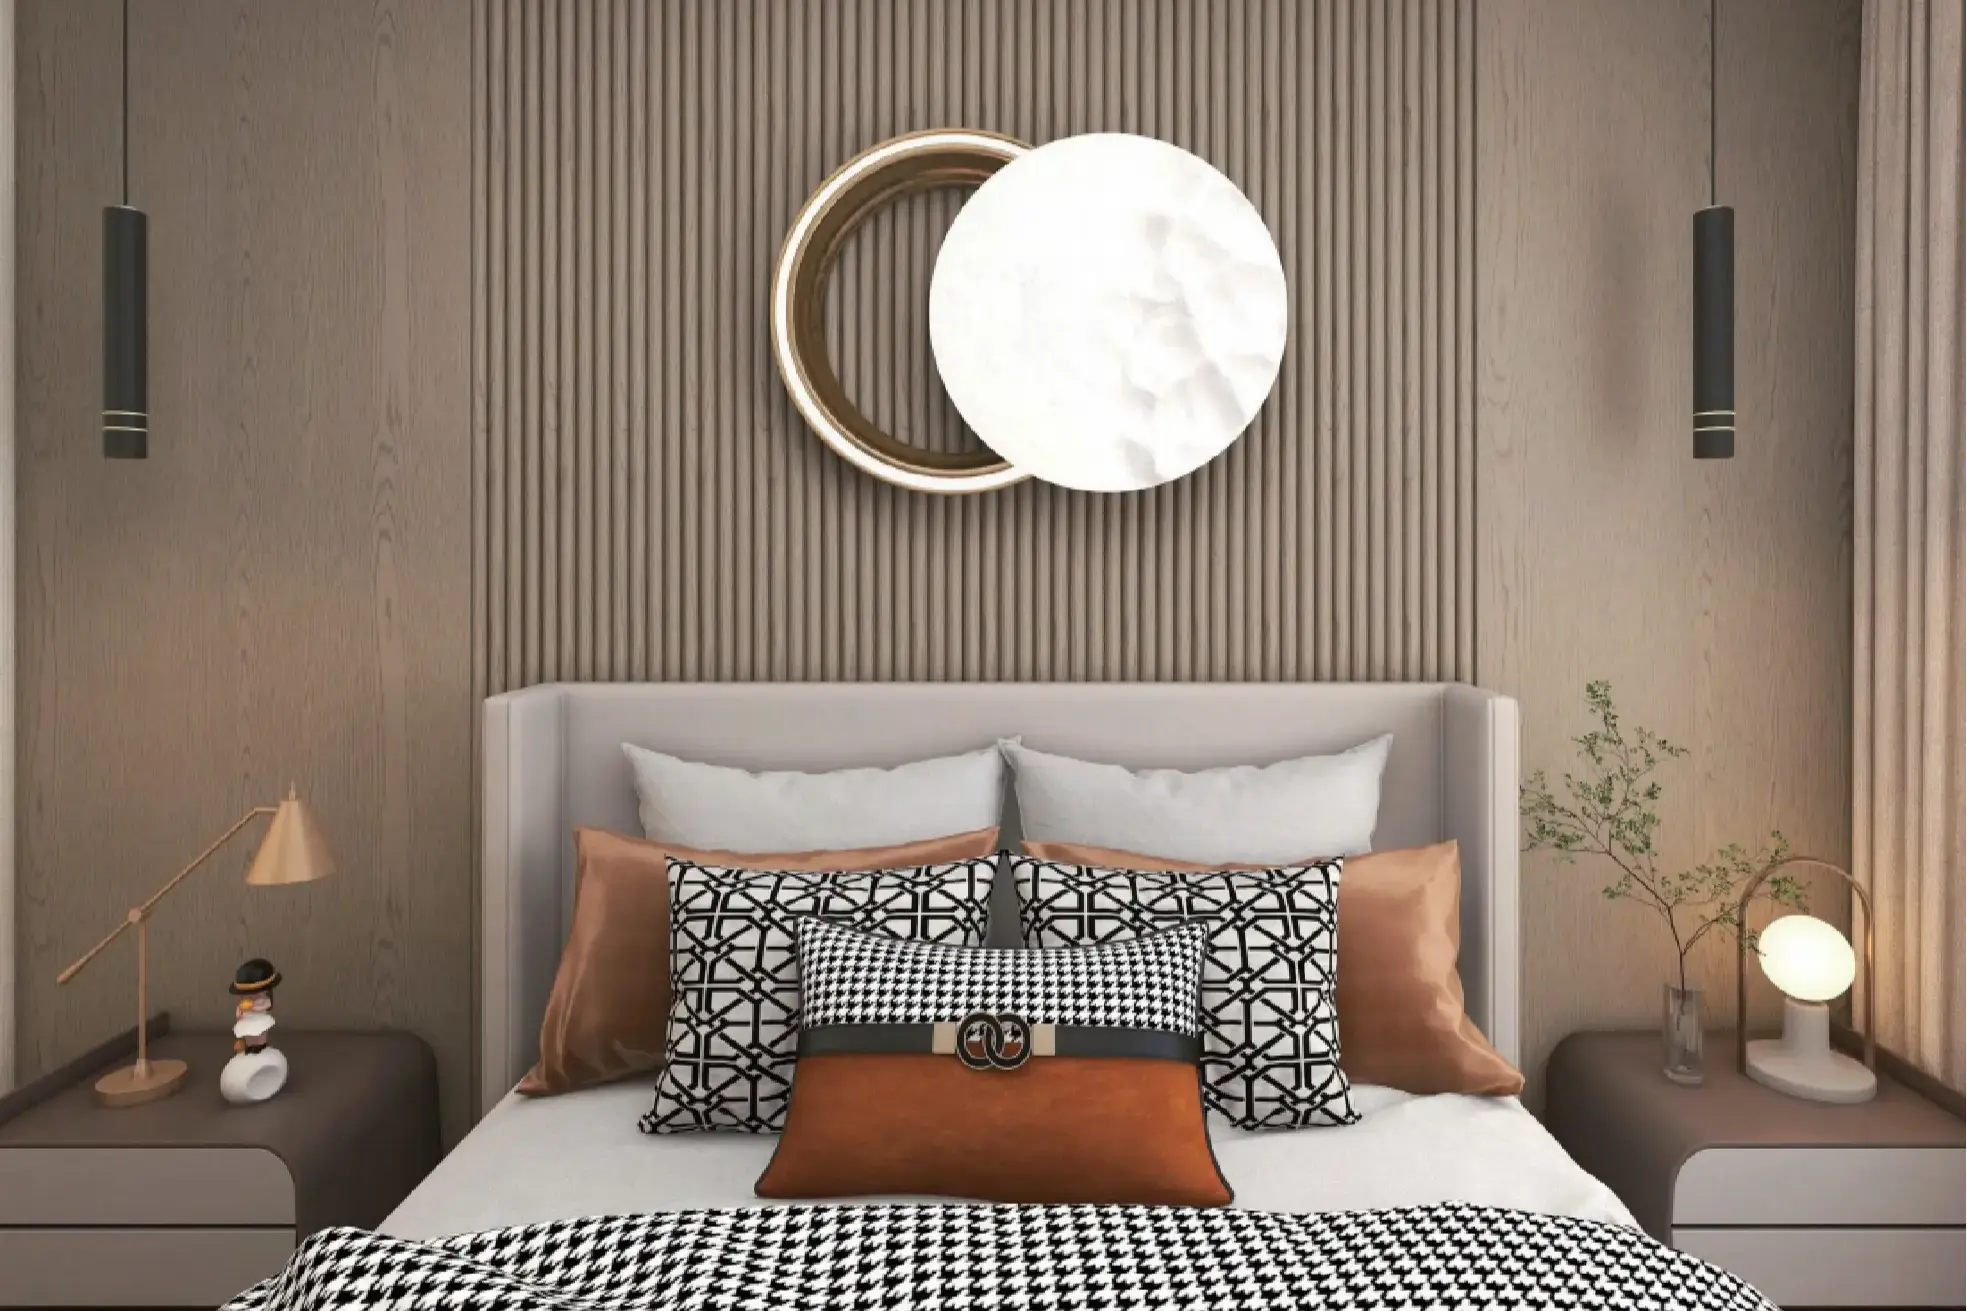
Tras la instalación, inspeccione toda la pared. Una pared con rejilla de imitación madera debe presentar líneas verticales continuas y una apariencia general uniforme. No se limite a revisar el último panel instalado; observe toda la superficie.
Comprobar lo siguiente:
– Alineación vertical recta
– Juntas estrechas entre paneles
– Asegurar el contacto con la pared
– Limpie los bordes alrededor de esquinas, pisos, techos y aberturas.
– No se observa desbordamiento de adhesivo
Si es posible, observe la pared con la iluminación normal de la habitación. La iluminación lateral puede revelar esquinas levantadas, juntas irregulares o sombras que eran difíciles de ver durante la instalación. Deje que el adhesivo se seque según las instrucciones del fabricante antes de limpiar la pared o presionarla.
¿Por qué los paneles de pared PS funcionan bien para paredes decorativas interiores?
Los paneles de pared PS son ideales para proyectos de decoración de interiores, ya que son ligeros y más fáciles de instalar que muchos otros revestimientos de pared más pesados. Los paneles de pared HUAHONG DECOR PS son impermeables, de rápida instalación y adecuados para dormitorios, salas de estar, paredes decorativas e interiores comerciales.
Los acabados con vetas de madera, metal y piedra ofrecen a los compradores diversas opciones de diseño. Un dormitorio puede requerir un fondo más cálido. Una zona de recepción puede necesitar una superficie estriada más limpia. Un pasillo o una pared comercial pueden requerir un acabado uniforme que se pueda aplicar en varias secciones.
Para quienes comparan materiales decorativos para paredes, las preguntas prácticas son directas: ¿cuánta preparación de la pared se necesita?, ¿qué tan rápido se pueden instalar los paneles?, ¿el diseño se mantendrá alineado?, y ¿el acabado se adapta a la habitación? HUAHONG DECOR ofrece paneles de pared PS para diferentes estilos de interiores, de modo que el plan de instalación se pueda adaptar al estilo deseado.
Errores comunes de instalación que se deben evitar
No instale los paneles sobre una pared polvorienta, húmeda o irregular. La preparación de la superficie afecta tanto a la adherencia como al aspecto.
No cortes todos los paneles a partir de una sola medida. Las paredes, los suelos y los techos pueden no ser perfectamente cuadrados.
No se apresure con el primer panel. Si no está vertical, el error generalmente se extiende por toda la pared.
No confíe únicamente en el adhesivo cuando el estado de la pared o los requisitos del proyecto exijan una fijación mecánica. Utilice clavos cuando el soporte adicional sea adecuado para el sustrato.
Tenga cuidado con los interruptores, enchufes, ventanas y marcos de puertas. Estas zonas interrumpen el patrón, por lo que los cortes irregulares son fáciles de detectar.
Antes de fijar los paneles, compruebe también la dirección del acabado. Las superficies decorativas pueden reflejar la luz de forma diferente. Si un panel se gira o se coloca fuera de secuencia, el color puede variar ligeramente, incluso si todos los paneles pertenecen a la misma línea de productos.
Conclusiones finales
La instalación de los paneles de pared PS 3D es sencilla si se siguen los pasos correctos: limpiar y nivelar la pared, medir con precisión, planificar la disposición, cortar los paneles, aplicar adhesivo sin clavos, instalarlos en la secuencia correcta y añadir clavos cuando sea necesario un soporte adicional.
Para paredes decorativas interiores, los paneles de pared HUAHONG DECOR PS ofrecen una opción decorativa ligera e impermeable para compradores que desean una instalación rápida y efectos de vetas de madera u otros efectos de superficie. Explore la Colección de paneles de pared HUAHONG DECOR para comparar estilos y aplicaciones.
Contacte con HUAHONG DECOR para una consulta sobre paneles de pared PS.
¿Planea un proyecto de pared decorativa interior o paneles de pared comerciales? Comparta con HUAHONG DECOR las dimensiones de su pared, el acabado que prefiere, la orientación de los paneles, la cantidad estimada y la aplicación prevista. Nuestro equipo le recomendará los estilos de paneles de pared PS más adecuados, le ayudará a calcular los materiales necesarios y le brindará apoyo para la cotización de su proyecto.
Para una comunicación más rápida, incluya fotos de la pared, la zona aproximada de instalación y cualquier abertura o esquina que requiera el corte de paneles.
Envíanos los detalles de tu proyecto de paneles de pared.
FAQ
P1: ¿Se pueden instalar los paneles de pared de PS únicamente con adhesivo sin clavos?
A1: Sí, en una pared interior limpia y lisa, un adhesivo sin clavos suele ser suficiente. Mantiene la superficie frontal más limpia porque no hay puntos de fijación visibles.
Si la pared se siente áspera, hueca, polvorienta o débil, coloque clavos donde sea necesario. El adhesivo es un método de fijación, no una forma de hacer que una pared en mal estado se comporte como una buena.
P2: ¿Los paneles de pared de poliestireno necesitan una pared perfectamente plana?
A2: No, pero debe ser lo suficientemente plano para que la parte posterior del panel haga contacto uniformemente. Las pequeñas abolladuras generalmente se pueden rellenar antes de la instalación. Las ondulaciones o irregularidades más grandes deben corregirse primero.
Los paneles de pared de poliestireno son paneles decorativos. Pueden mejorar el aspecto de una habitación, pero no están diseñados para corregir un mal estado del suelo.
P3: ¿Cómo se cortan los paneles de pared de PS alrededor de interruptores o aberturas?
A3: Mida la abertura en la pared y luego transfiera la marca al reverso del panel sin cambiar la orientación. Haga una prueba de ajuste en seco antes de aplicar el adhesivo.
Cerca de interruptores, enchufes, ventanas y marcos de puertas, trabaje despacio. Estos cortes quedan a la vista. En proyectos repetidos, marque el orden de los paneles en la parte posterior para evitar que las piezas se intercambien.
P4: ¿Dónde se debe colocar el primer panel?
A4: Elija la posición que ofrezca la distribución más limpia en toda la pared. Algunas paredes funcionan mejor con un borde visible. Otras se ven mejor con una línea central planificada.
Lo importante es la alineación vertical. Una vez fijado el primer panel, todos los paneles siguientes siguen esa línea.
P5: ¿Son adecuados los paneles de pared de poliestireno para dormitorios y salas de estar?
A5: Sí. Los paneles de pared HUAHONG DECOR PS se utilizan para dormitorios, salas de estar, paredes decorativas, áreas de recepción, pasillos y otros espacios interiores decorativos.
Antes de comenzar la instalación, elija el acabado y la orientación de los paneles. Los efectos de vetas de madera, metal y piedra crean diferentes ambientes, incluso cuando el método de instalación es similar.